NB: article in writing
The Desky project came about when i wanted a display on my desk showing things like immediate weather, clock and some other things like Bitcoin prices.
I first started with php and LCD monitors thinking that was the way of doing this, but i soon discovered that microprocessors and small hardware was not so out of reach to learn.

This was a project that lasted a whole year and this little thing made me learn a entire catalog of things like, hardware and PCB design, 3D printing, C++, Arduino and microprocessors, solder techniques and so on.
Lets just start at the beguinning.
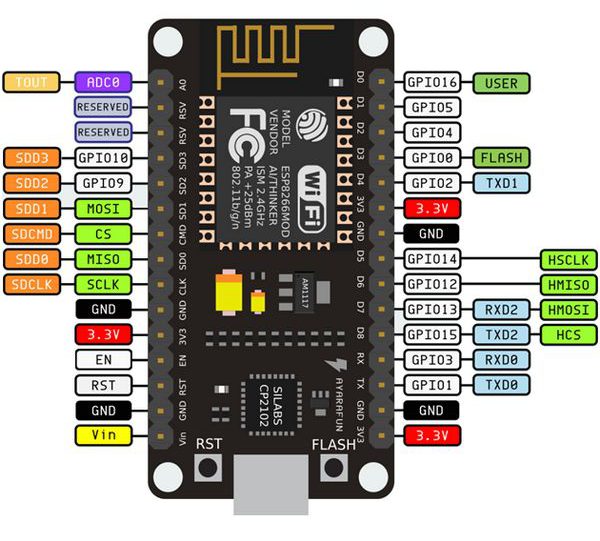
There are som development boards that has all the things you need to start something like this.
And in my chase it was the NodeMCU, and this thing made it quite easy to start off a project.
This thing has alot of connectivity.
After i finished the initial operating system and started with the graphics i wanted to try some things and it ended up being a little box we called the “Kokkoro box” as a small internal joke with my collages.
The kokkoro box served the purpose of changing “who is in charge” at my work place and displayed that on a monitor on so that panicked people always know who to run to for critical faults and such.
So as i wrote in my article that time “Maybe we should call it a NodeMcu, ESP8266, running a OLED SPI monitor on a 18650 battery with usb charge controller, some buttons and a custom 3D printed case just to nerd out as much as possible :)” http://haakony.no/a/kokkorobox
But it was a bit more then that, it used MQTT as a protocol that sent messages to a server running on a RaspberryPI.
And it was capable of receiving messages as a small pager.
MQTT was a early IOT protocol and i believe it is used by a lot of things today.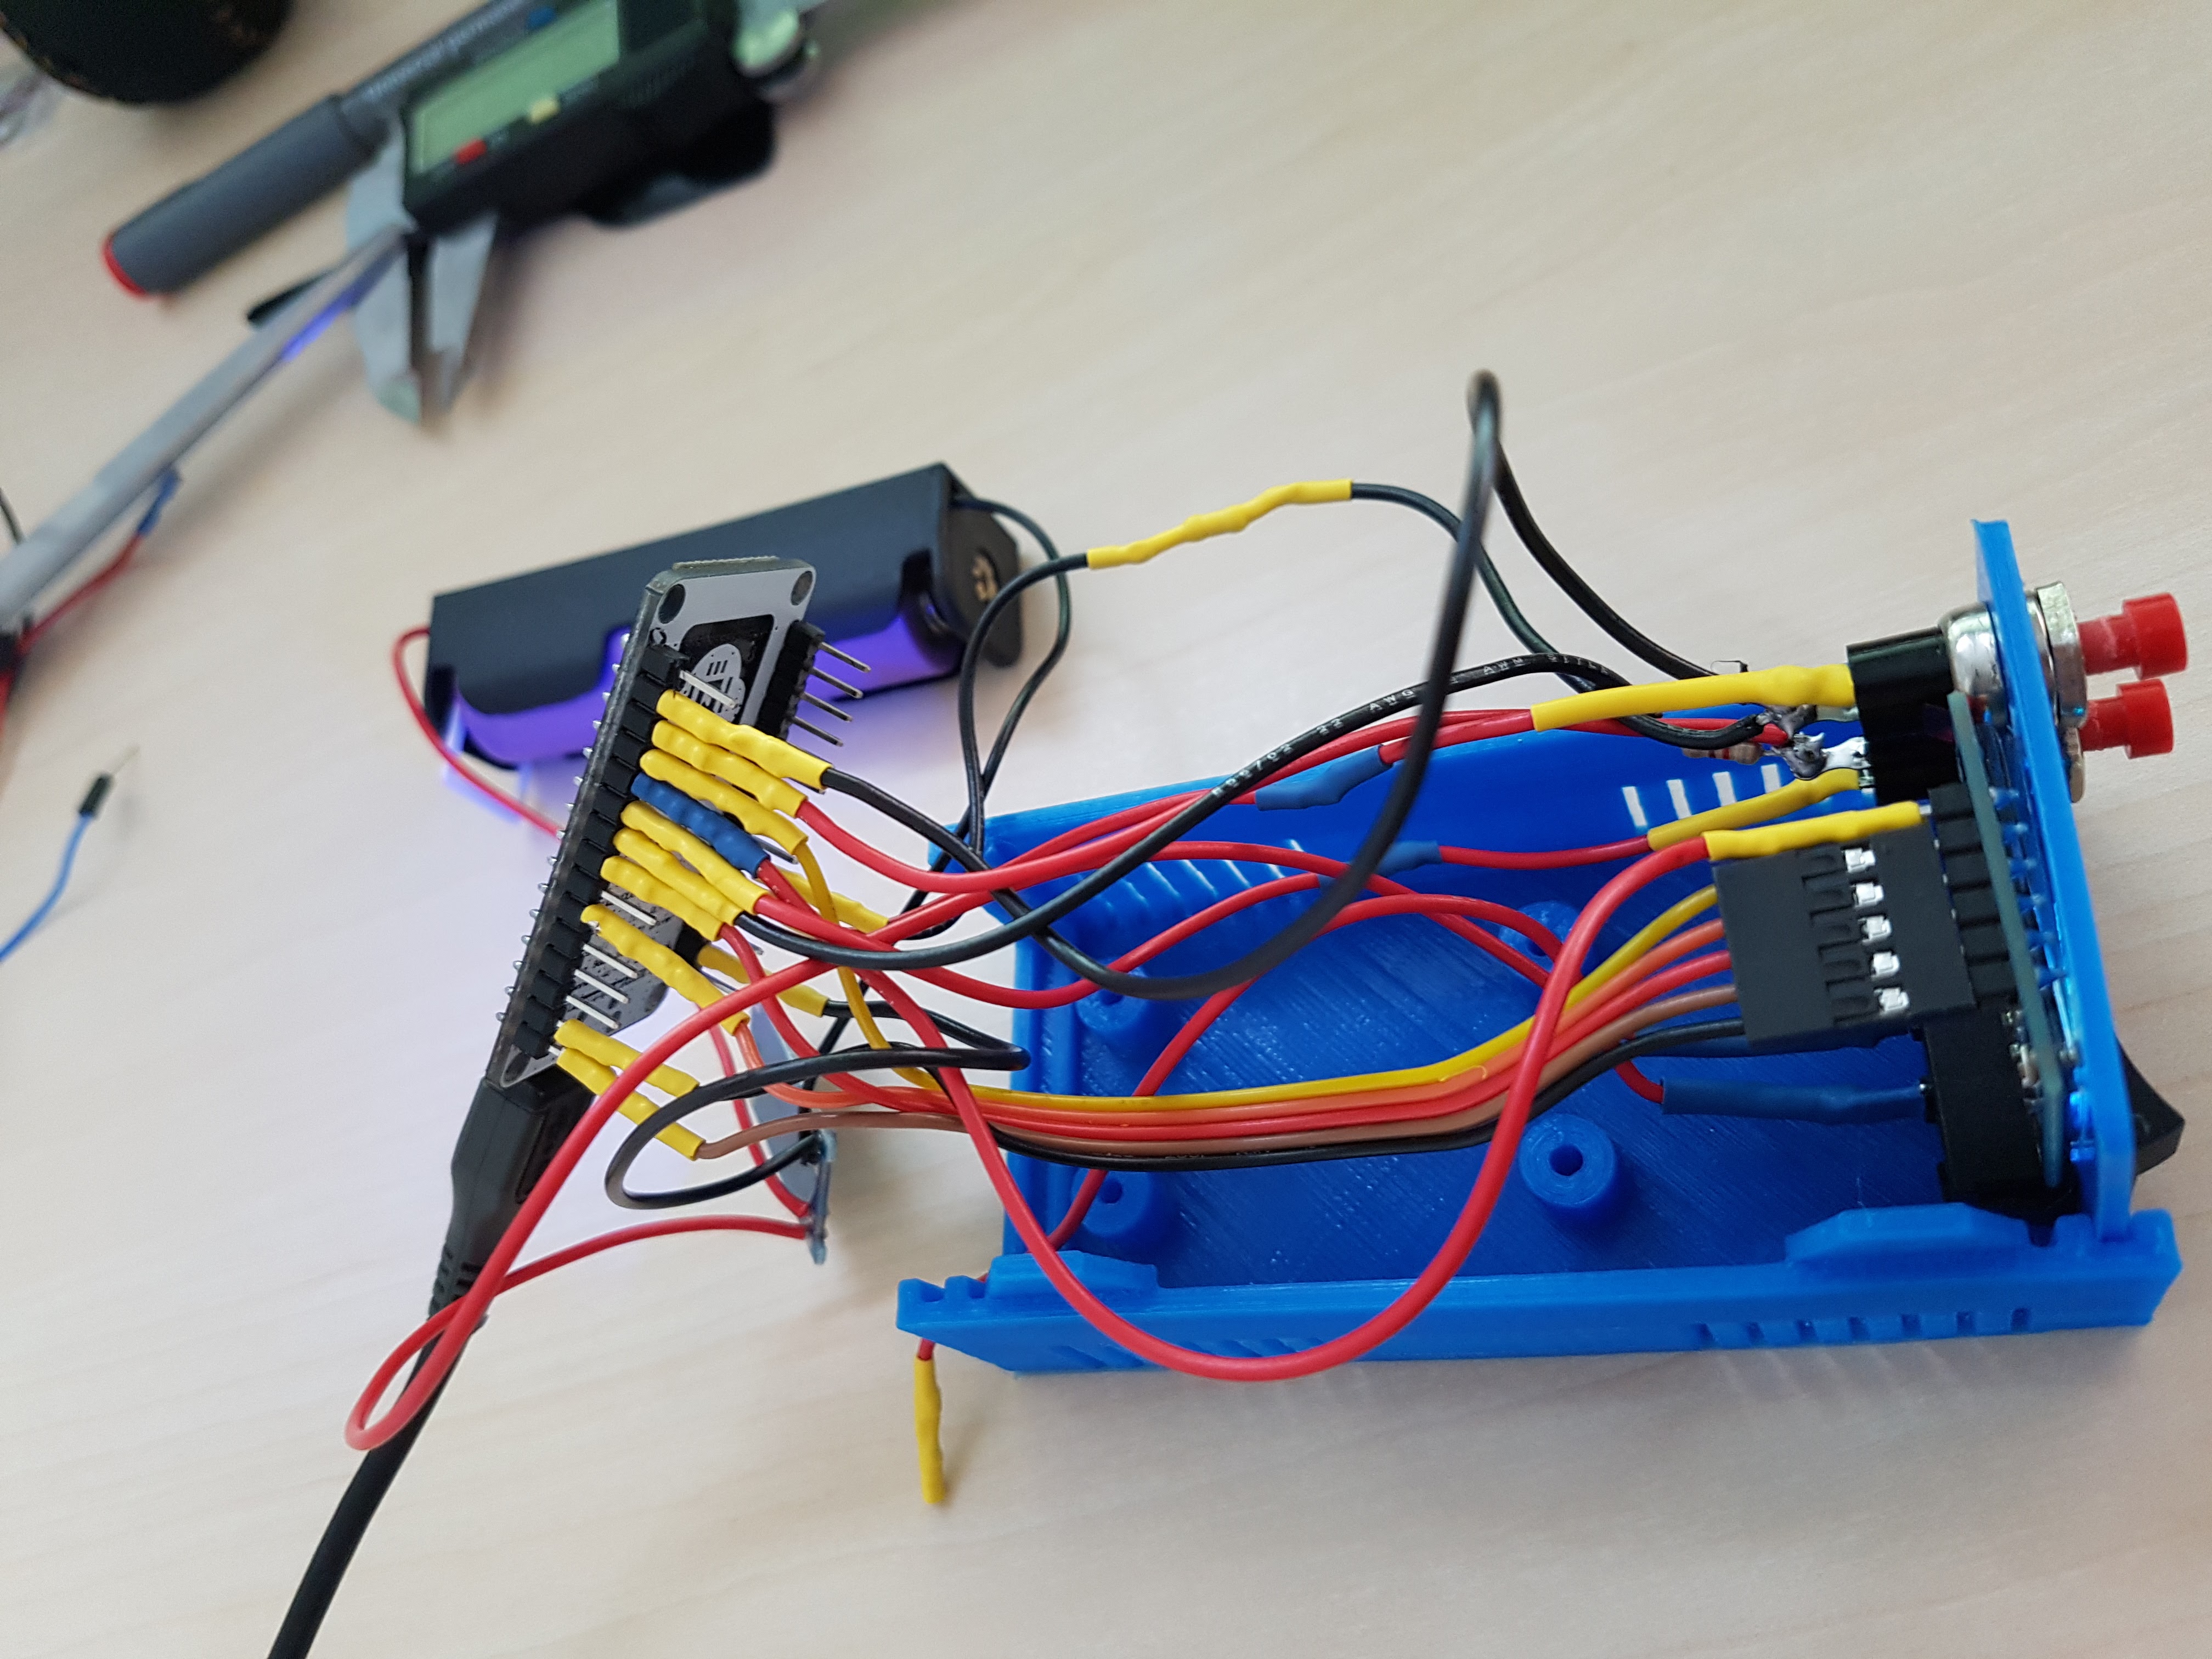
I just didn’t like it because it works like IRC, if you weren’t there when the message was sent then its gone.
This is useful for a lot of things but not for this, i would need to send a message then wait for the web server to respond with a OK.
Other reasons i didn’t like it was because the C++ library flipped out as soon as the server was down and nothing the microprocessor just stopped working.
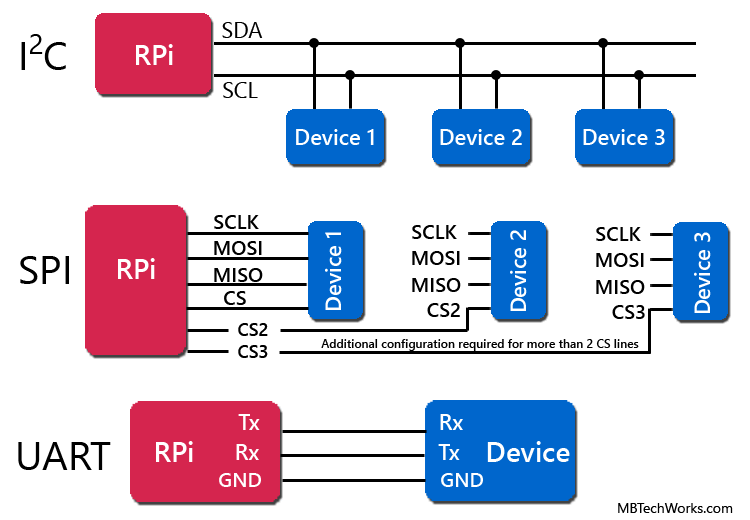
The monitor was also not working for me i had a lot of problems with the SPI, it is alot faster then I2C but it uses a lot more outputs from the chip.
I found some OLED I2C later that replaced the SPI monitor, and the result was 4 wires to the monitor instead of 6. including the power and ground.
So then there was the shrinking.
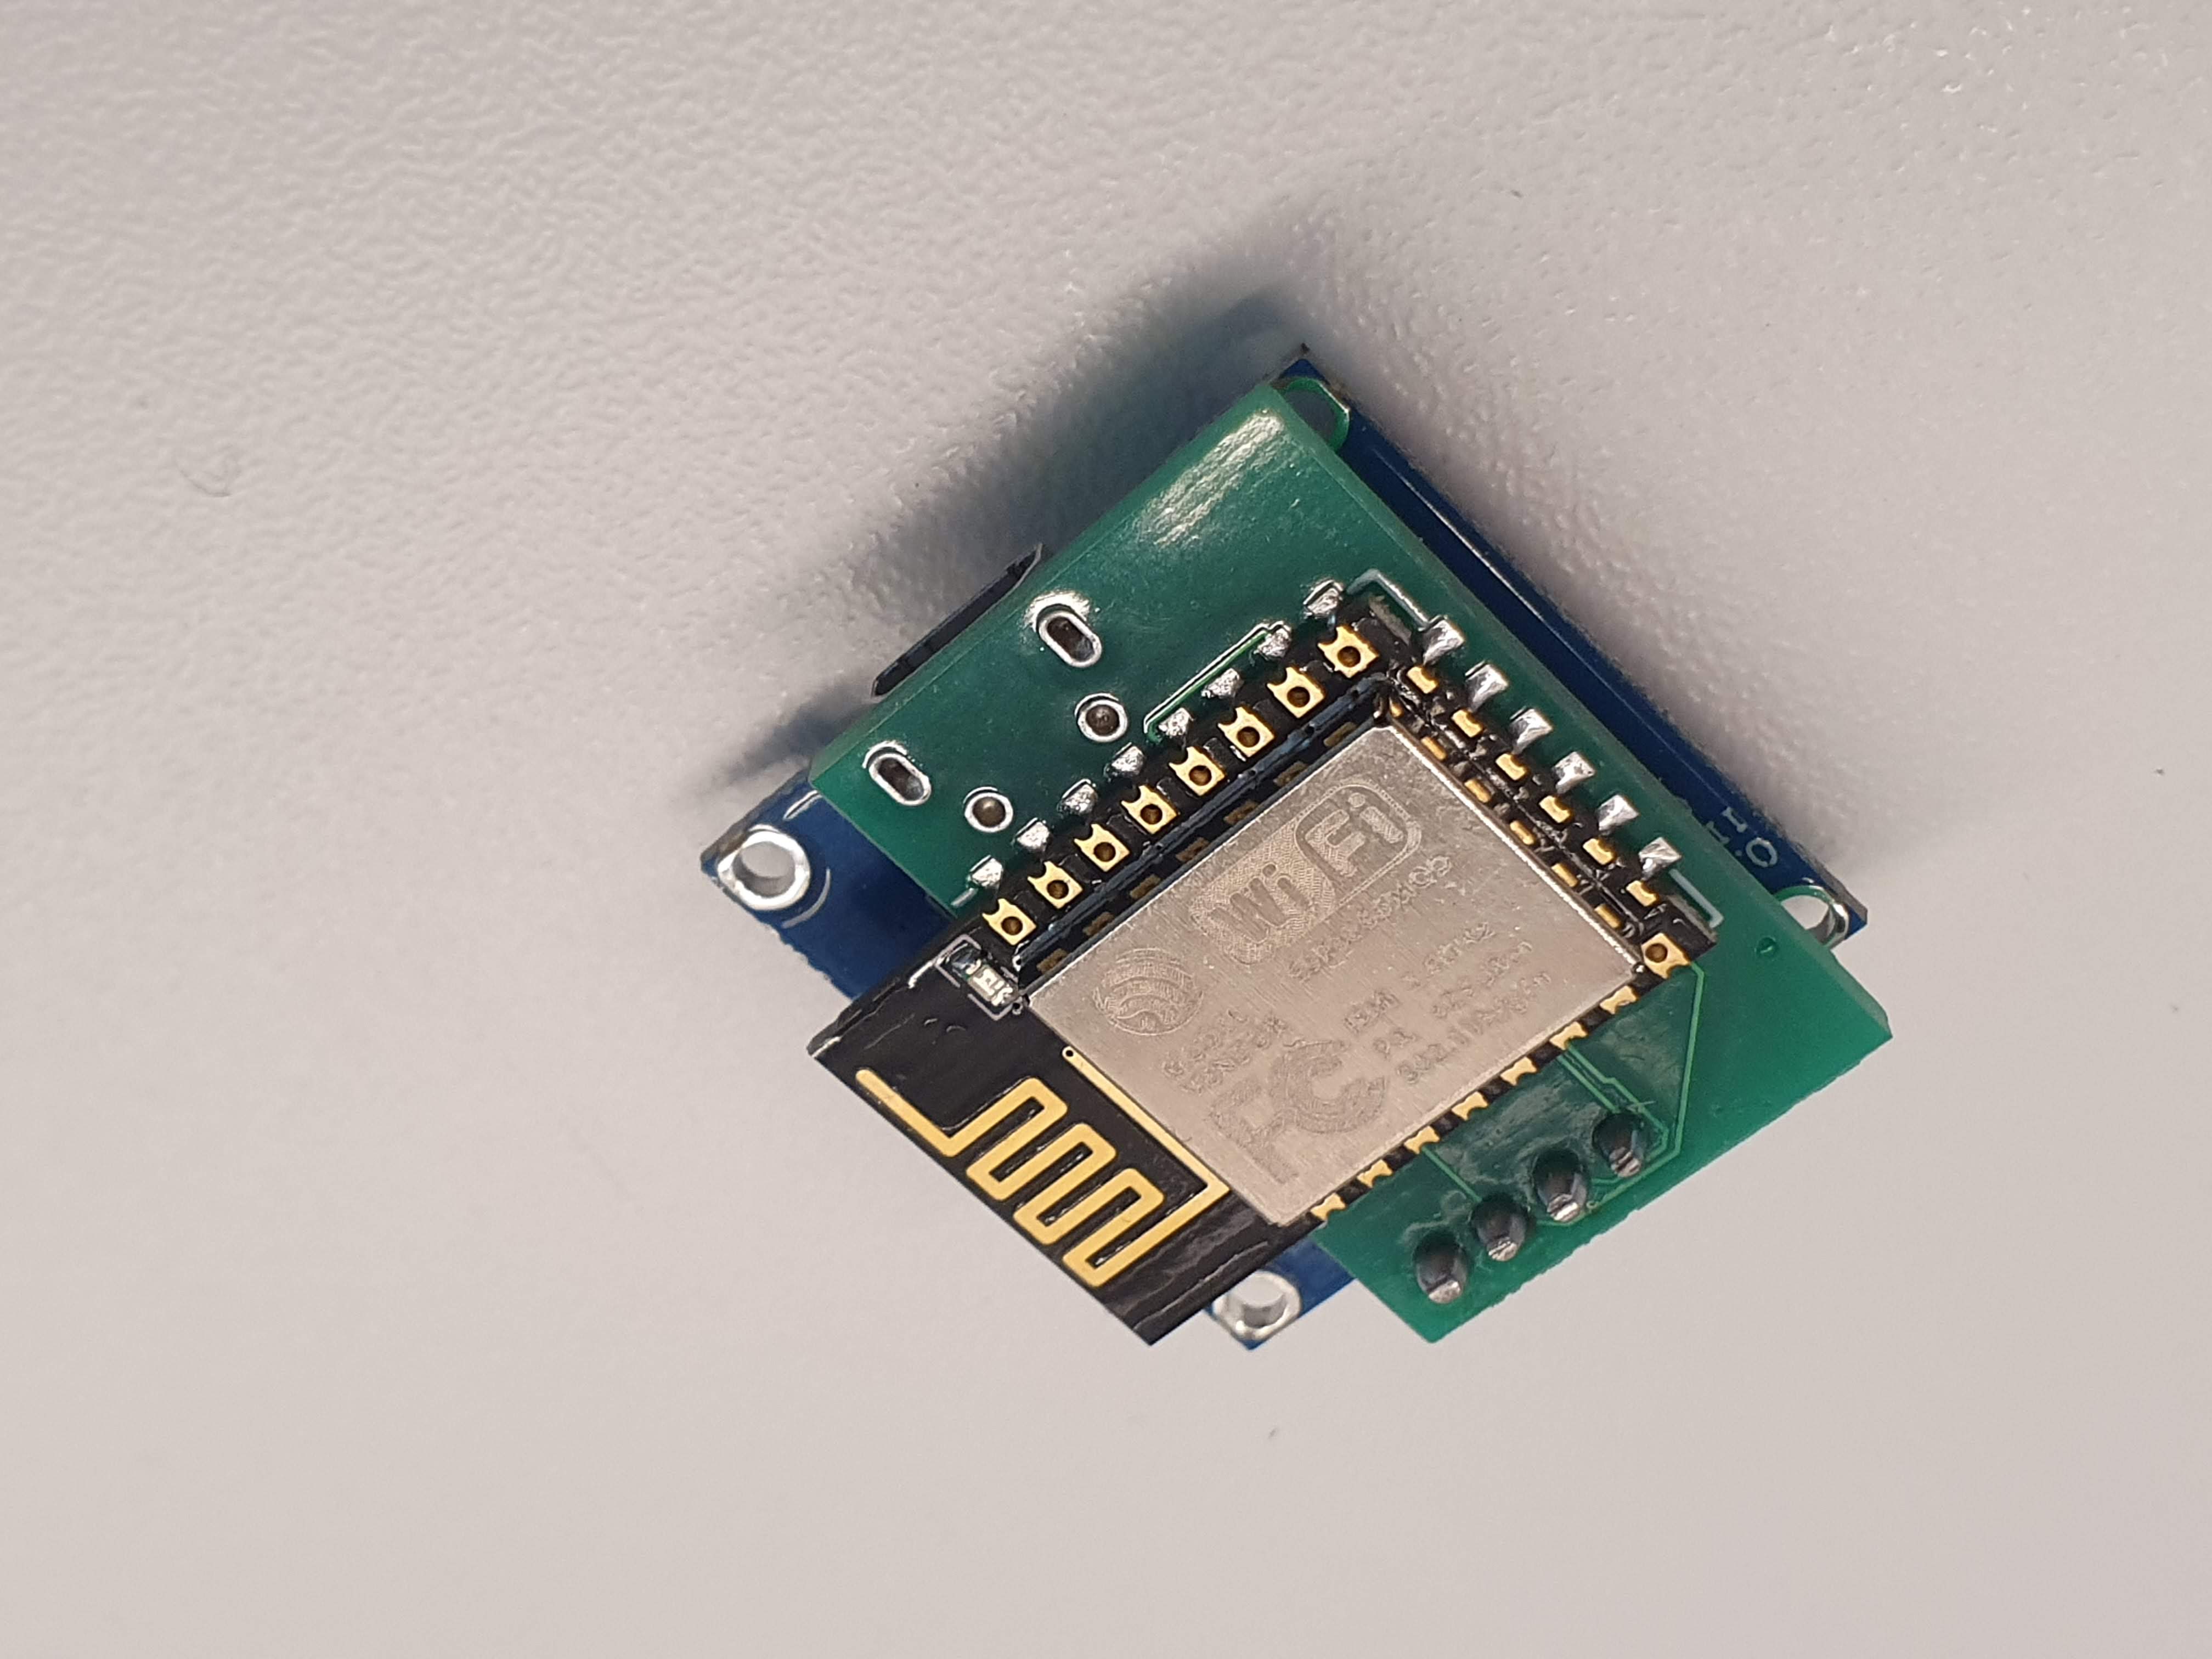
The next step now was to scale this thing down and to do so i needed to design a new double sided PCB incorporating both power delivery from 5v USB to the 3.3v that the ESP12e uses.
I started with some buck converters as tests and they proved that they delivered what i needed.
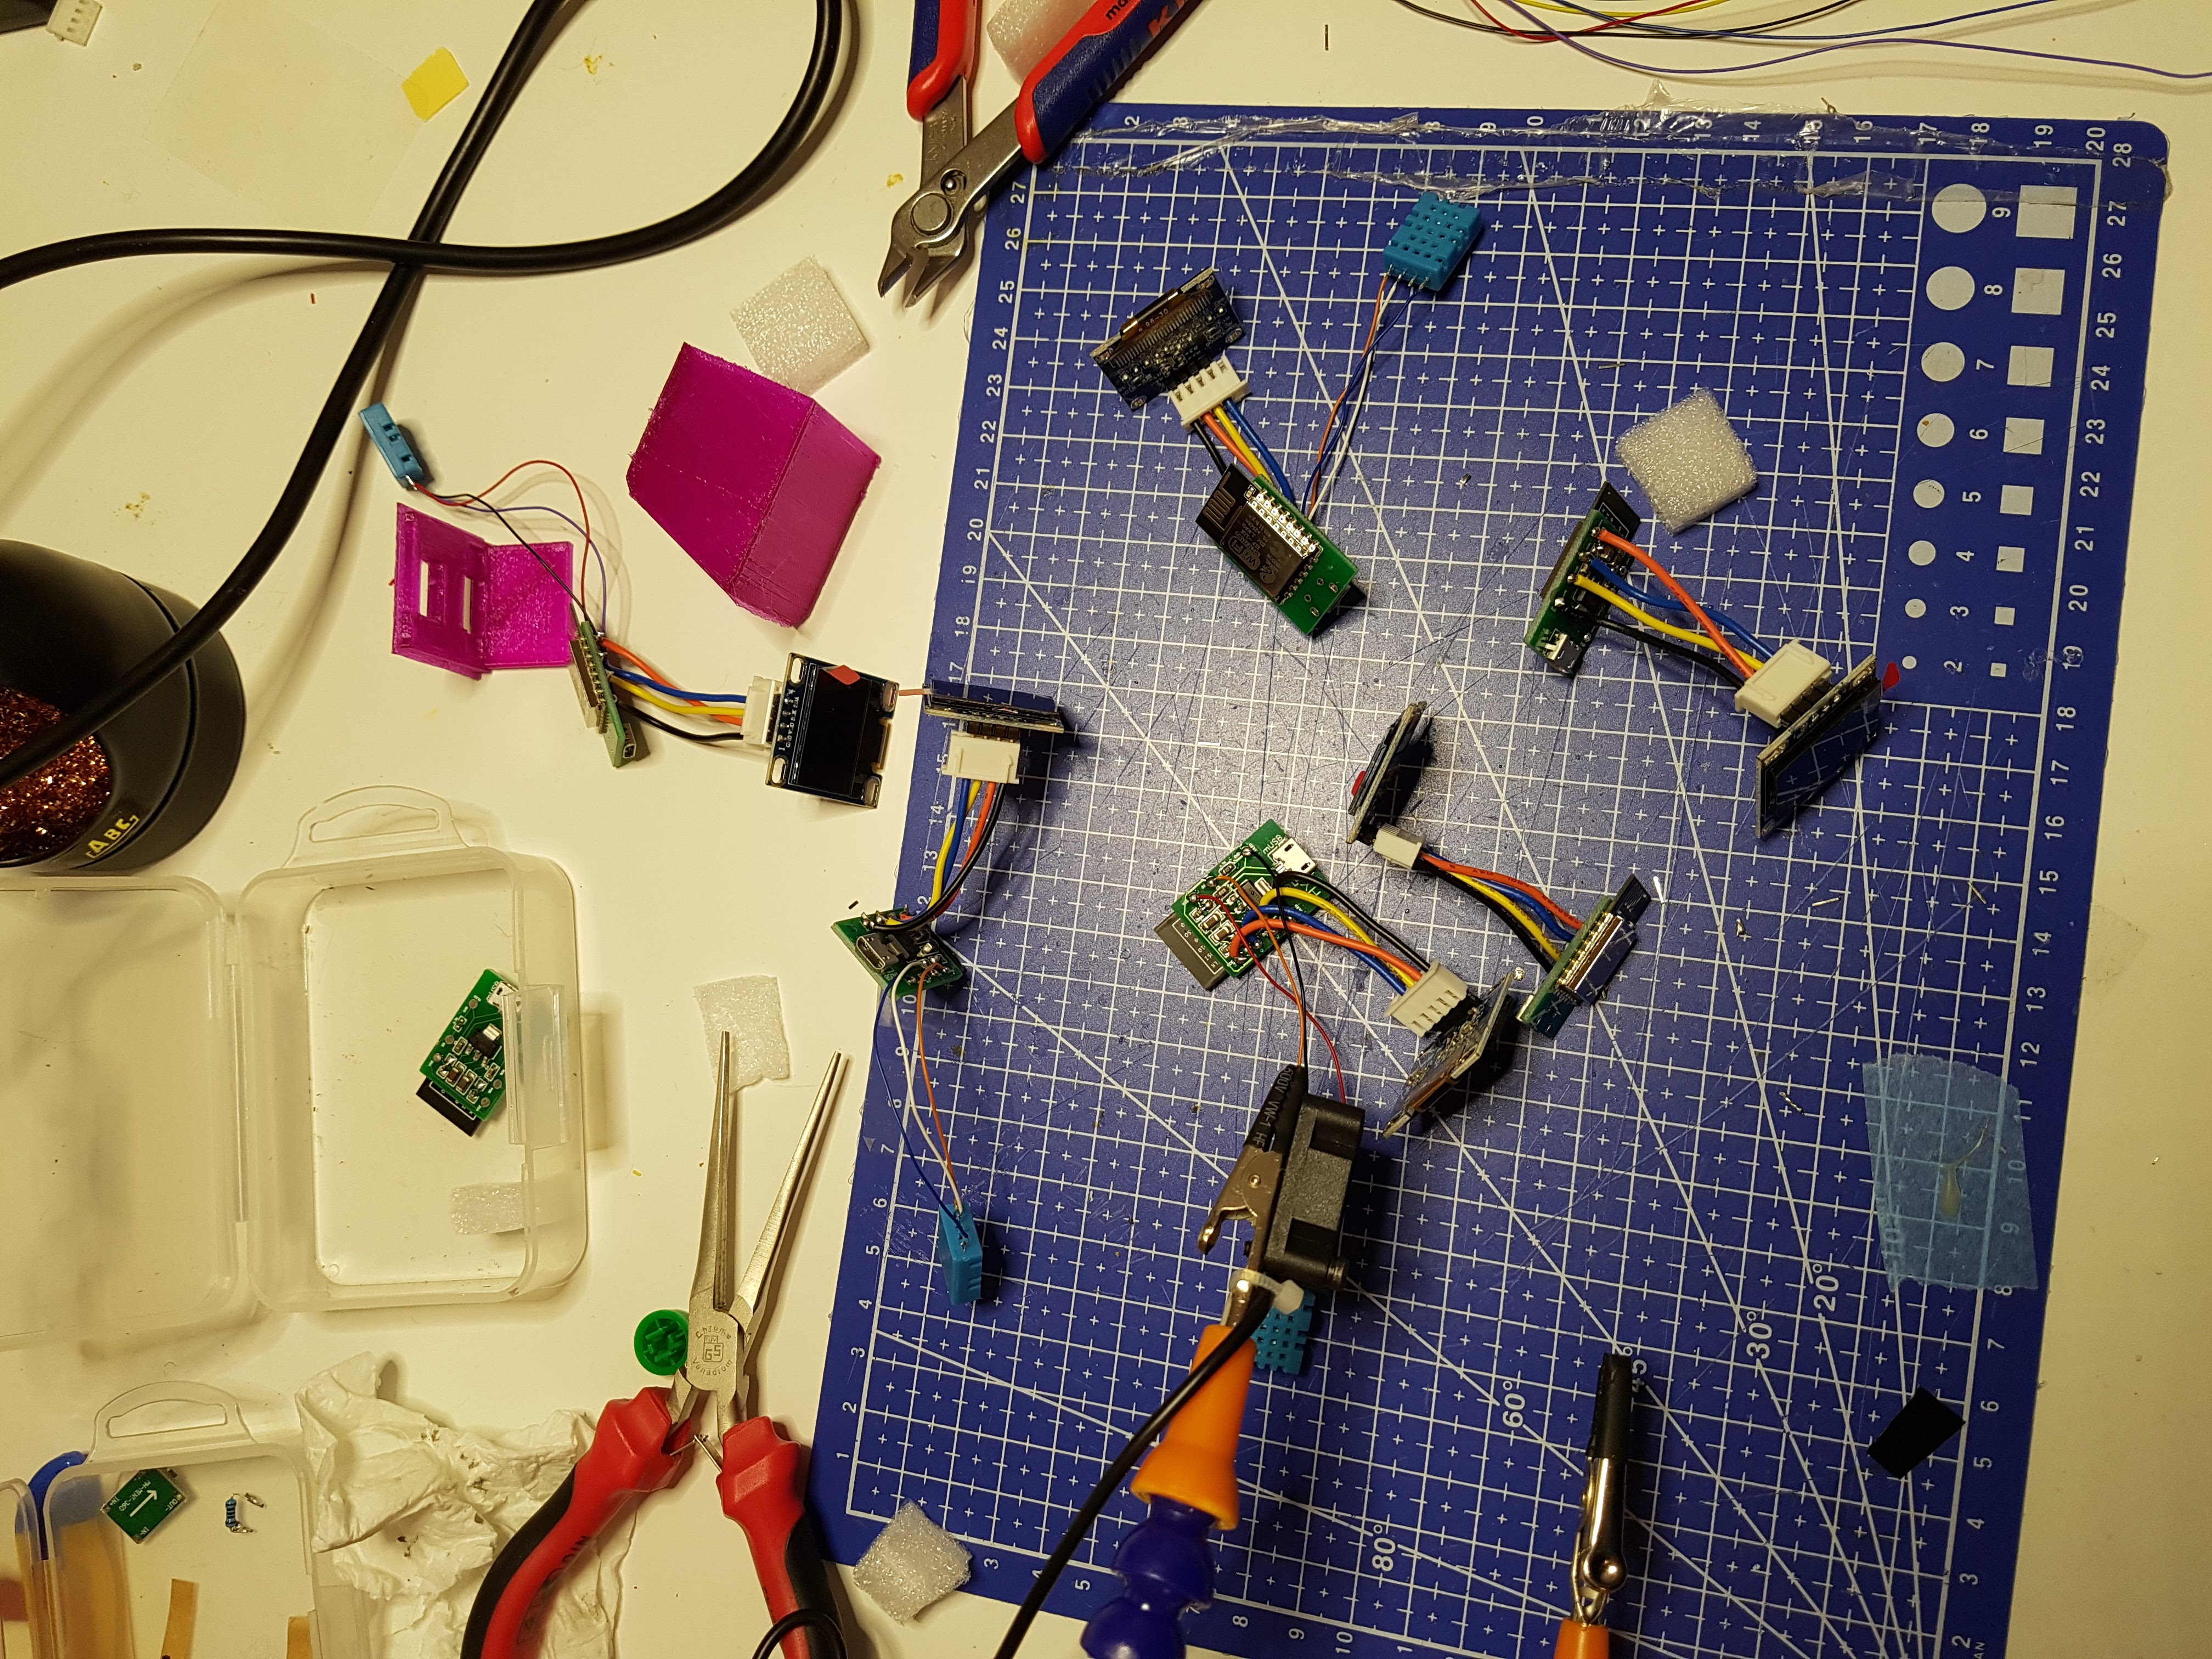
At this stage the entire thing is a mess of wires and parts, I did make a video while I was construction two of them as presents.
The result of the first PCB was not as bad as I thought it would be, i designed some sketch online and sent it over to a chinese company that prints these things.
Someone that can actually remember their electronics class would probably laugh by this but it worked quite well.
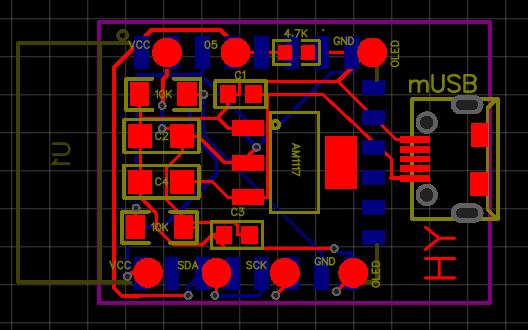

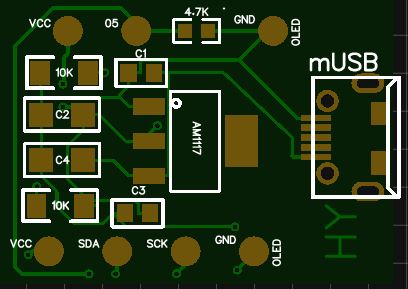
The AM1117 is a linear voltage regulator and it provides 3.3v for the microprocessor, it does this by converting the overflow to heat that i dissipate into the board itself.
I then use some capacitors to clean up the power so we won’t get to much noise to the processor.
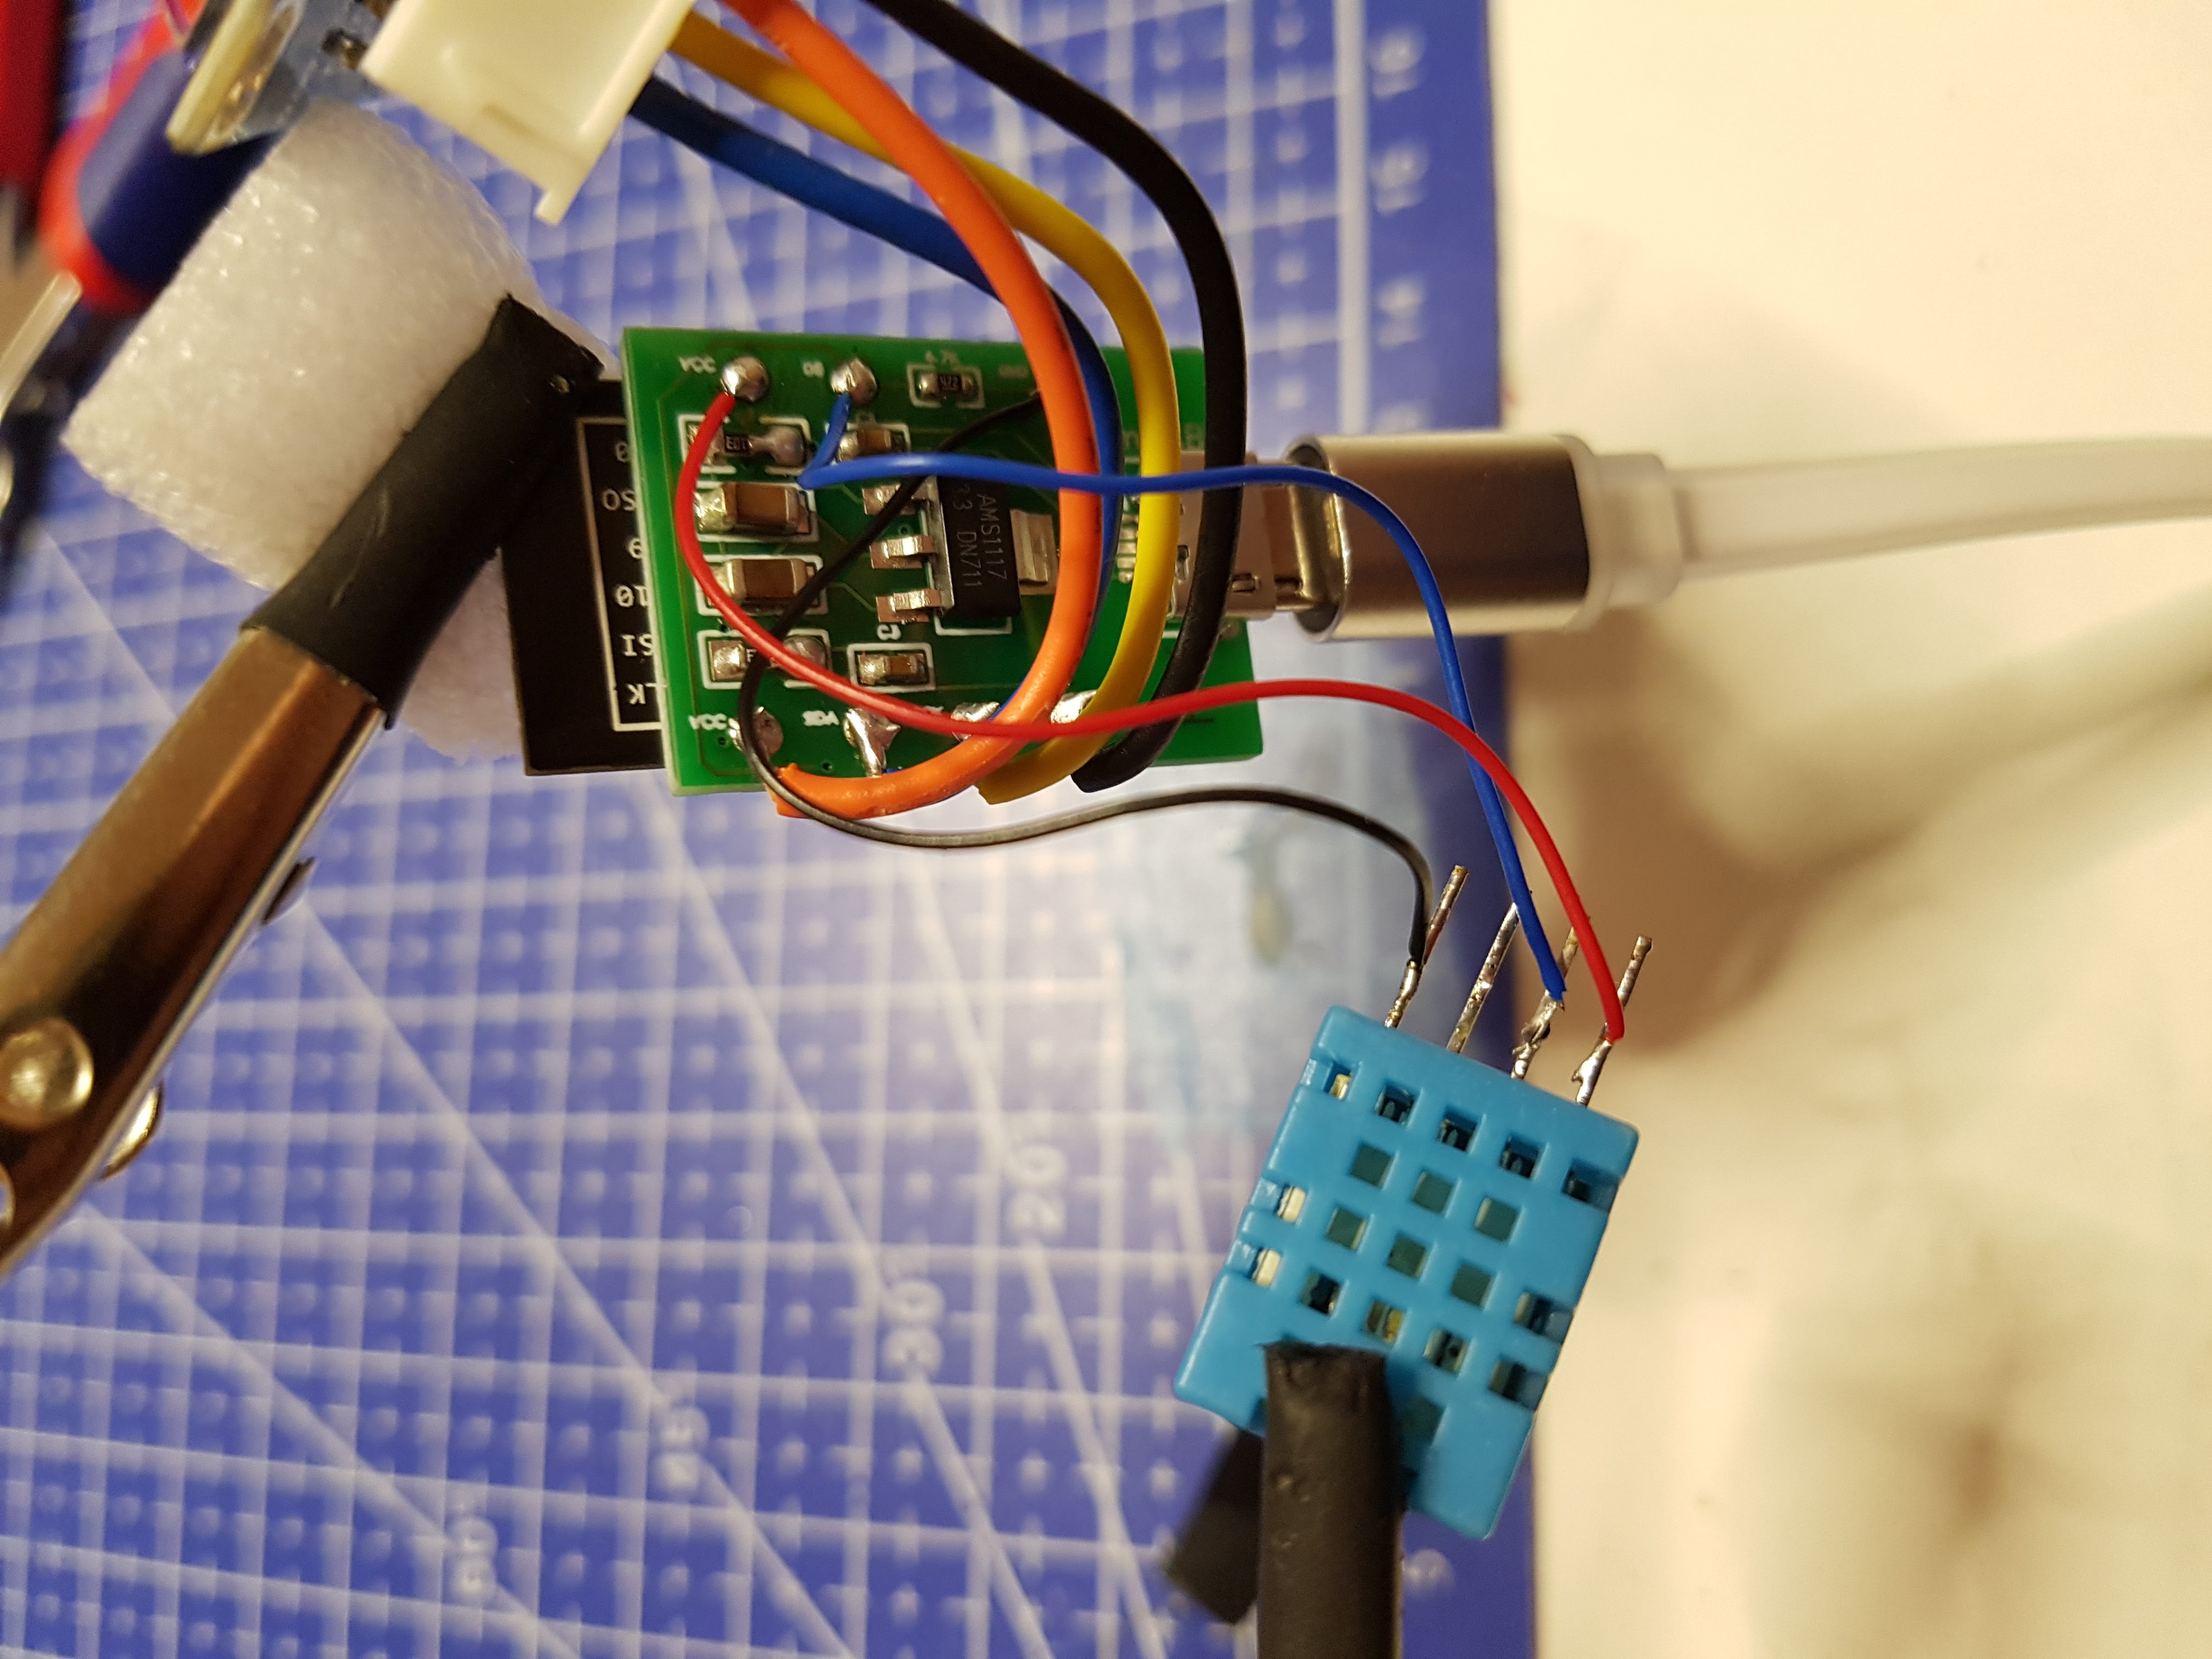
After rework they look something like this.
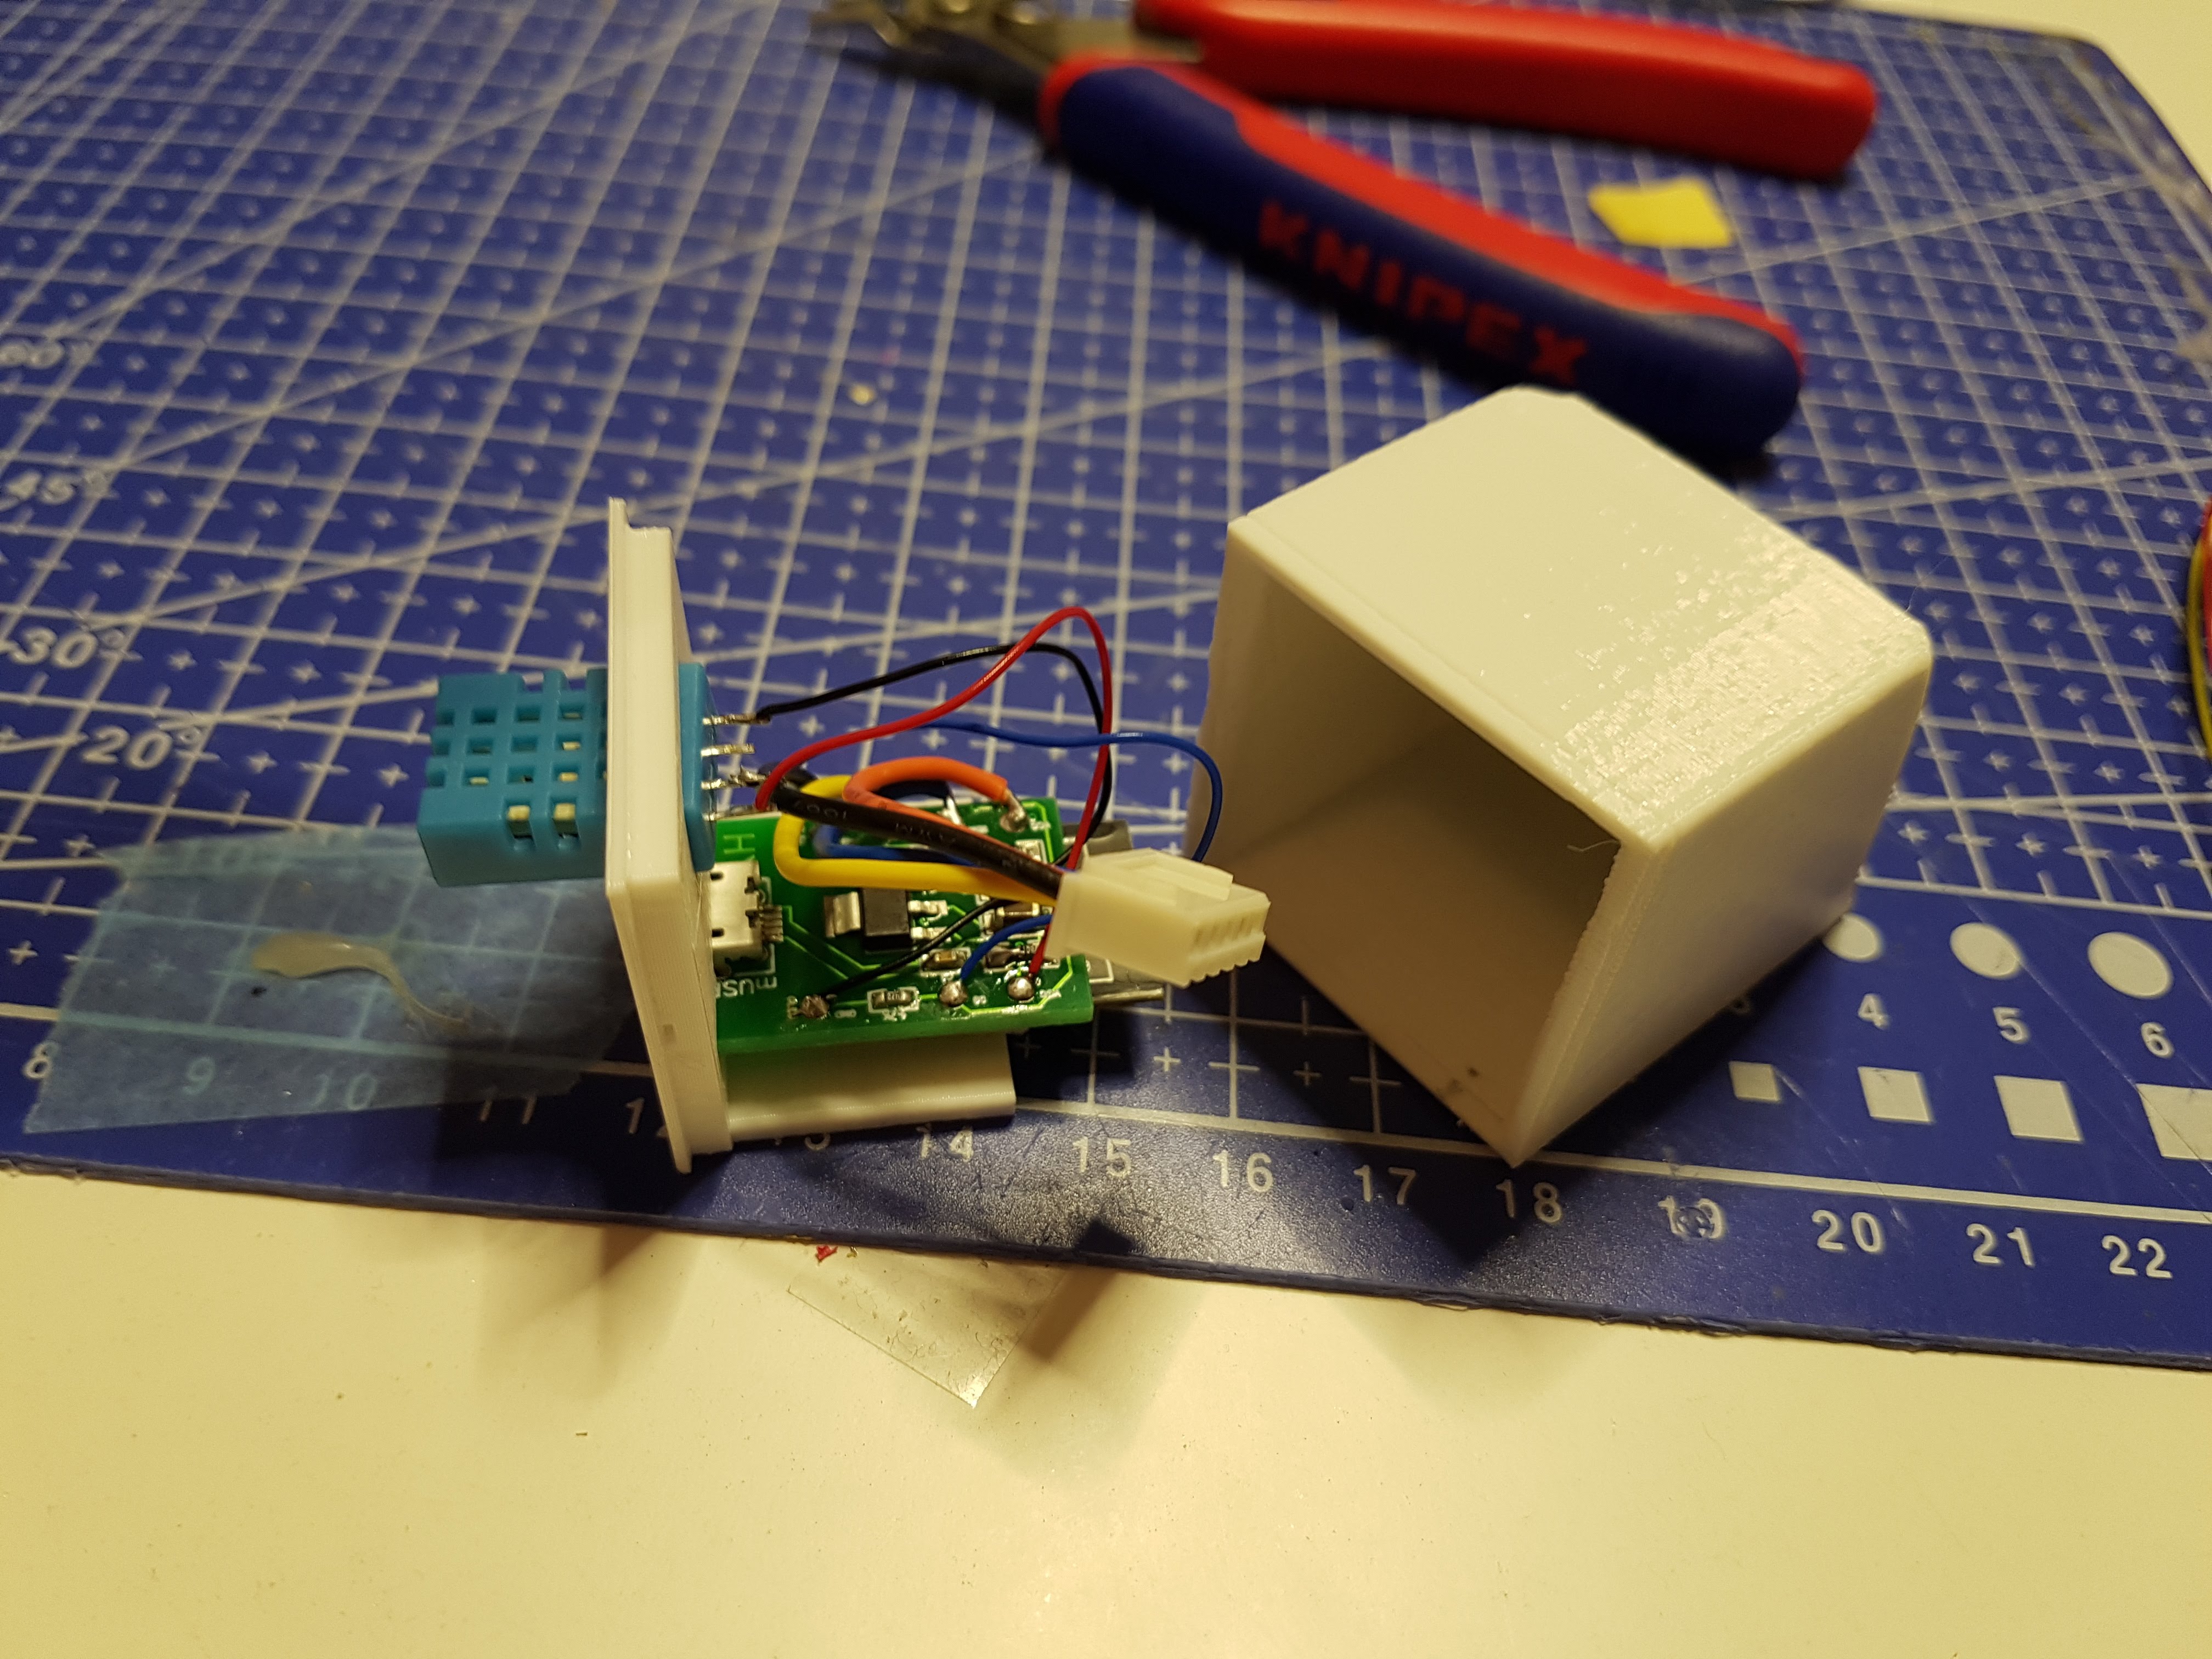
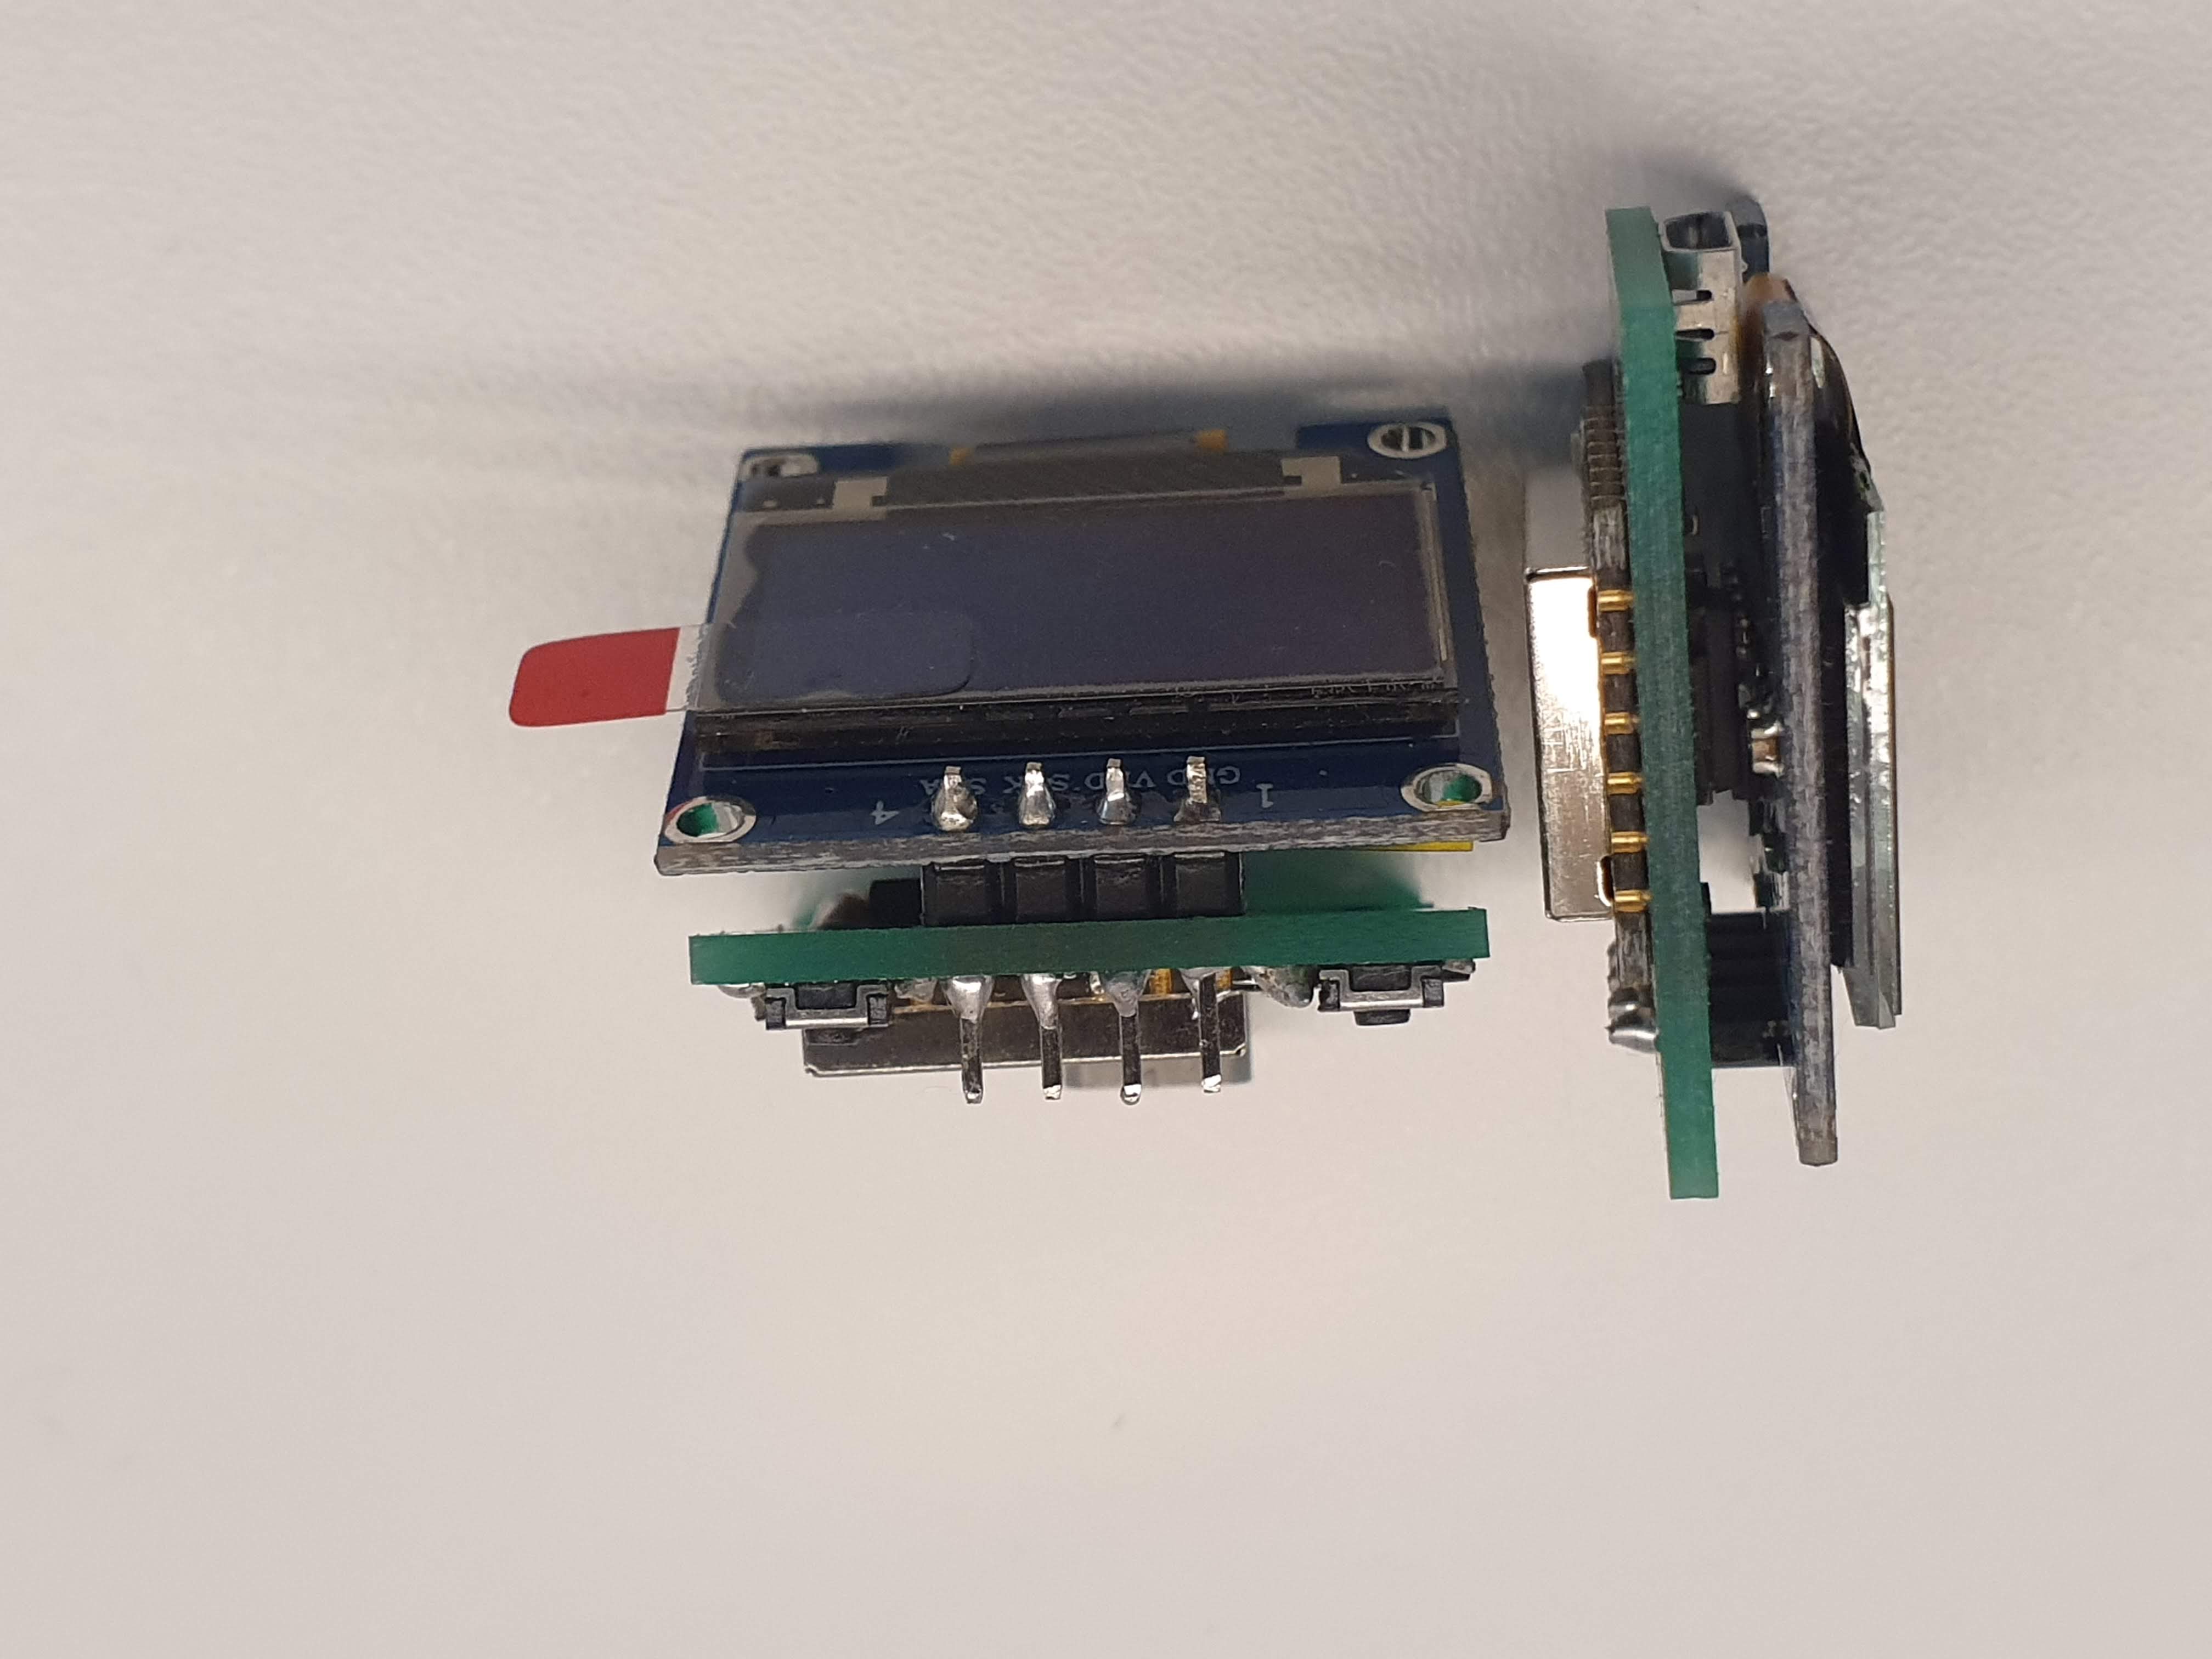
After verifying that this actually works then i redesigned the board to be able to directly attach to the OLED with pinouts so it can be directly inserted into the case.
This is the result, a compact small system stacked as small as i could get it without directly attaching the OLED.
I also redesigned the Kokkorobox with massive power saving and updated firmware with a much smaller footprint as a replacement but we never got to use it, but it did look really cool 🙂

The board on the back is a charge controller for the battery.
The Firmware
I wont get into the firmware, its made in C++ with a bunch of library’s. Its a ungodly mess of a code and i truly hate C++.
The weather data i get from Yr.no that has a open API, its not a rest API so i have a server that downloads the XML and converts it to code.
Once in a while the Desky connects to the server and sends IP, MAC, local temperature and it receives updates on temperature outside, BTC prices, Time/date from the timeserver and versoning checks.
OTA(Over The Air) Updates
Now, with the smaller footprint I also needed a way of updating the firmware remotely. This so that i could update screens on the Desky and give it more functions.
The bugfixes was also needed seeing i forgot that we have summer and winter time in Norway…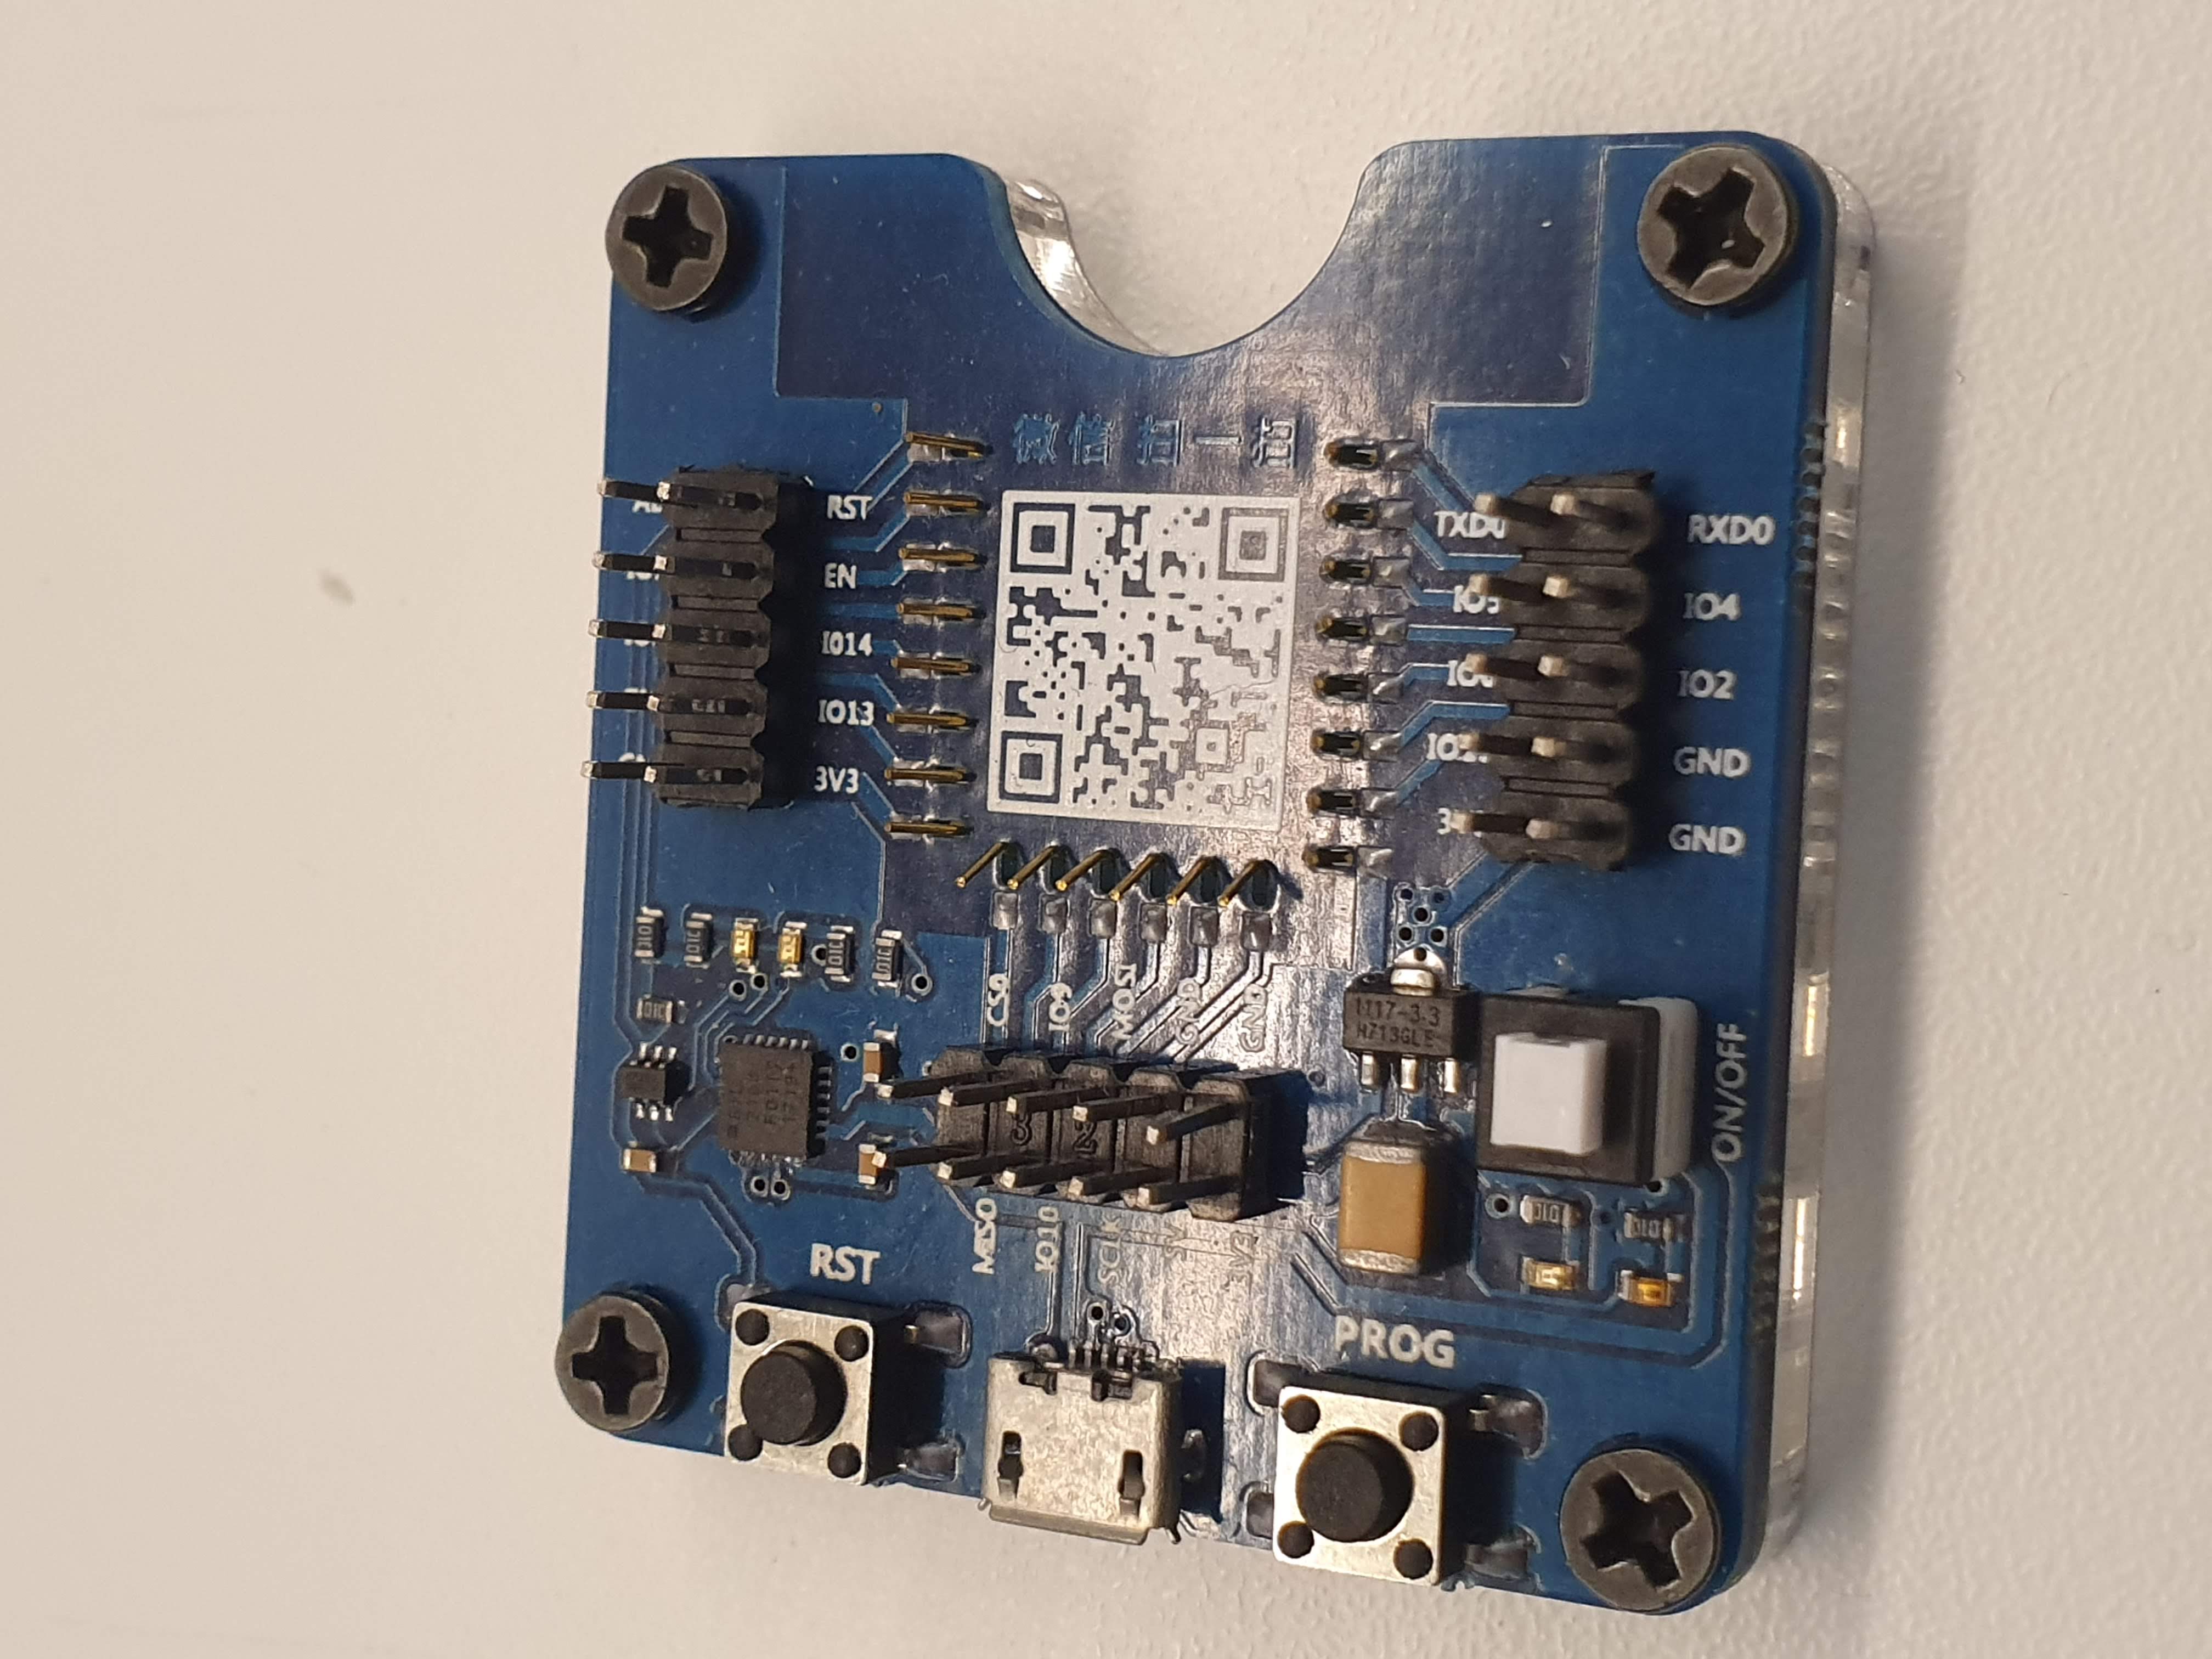
The initial program I upload with something they call a small batch programmer.
It has the USB serial interface and everything needed to program the ESP12.
After this has been done I can then connect my phone to the chip and give it WiFi passwords and get it online.
It then checks what version it has with my server and my server tells it what firmware it should have.
It then download whatever firmware it needs and reboots.
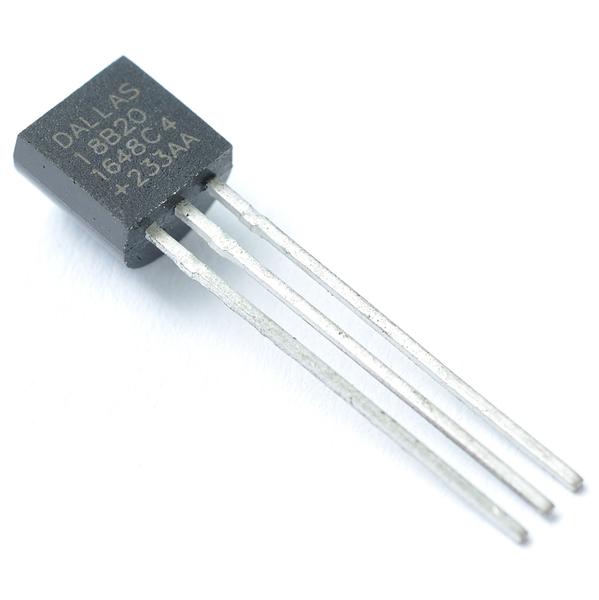
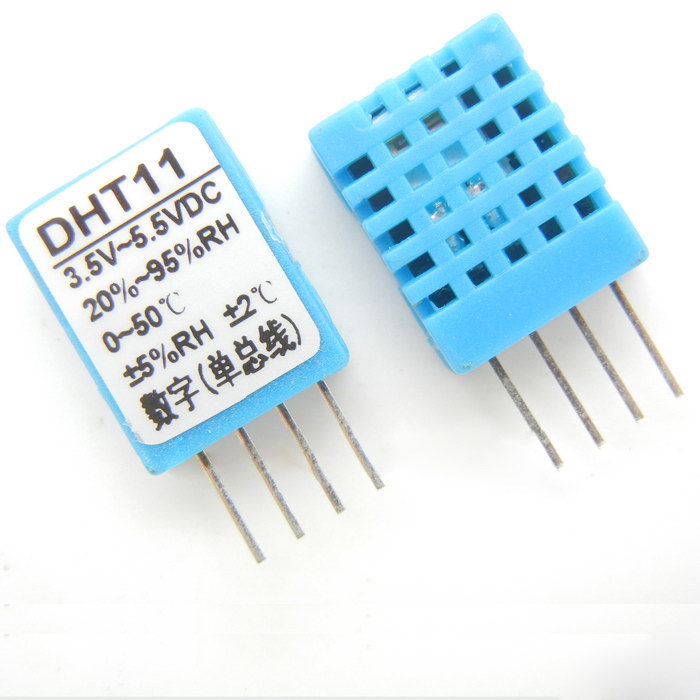
I did it this way because I made a lot of different versions, example one that has a Dallas DS18B20 digital temperature sensor, and one with a thermistor and even DHT11/22 temperature and humidity sensor.
I also planed carbon and dust sensors as well but i never got that far. It might show up in the future though.
3D Printing
I needed a case for this and naturally I got myself a 3D printer, this was the cheapest thing I could find with a lot of active users online. Its the Anet A8 and it did not come pre assembled or tuned..

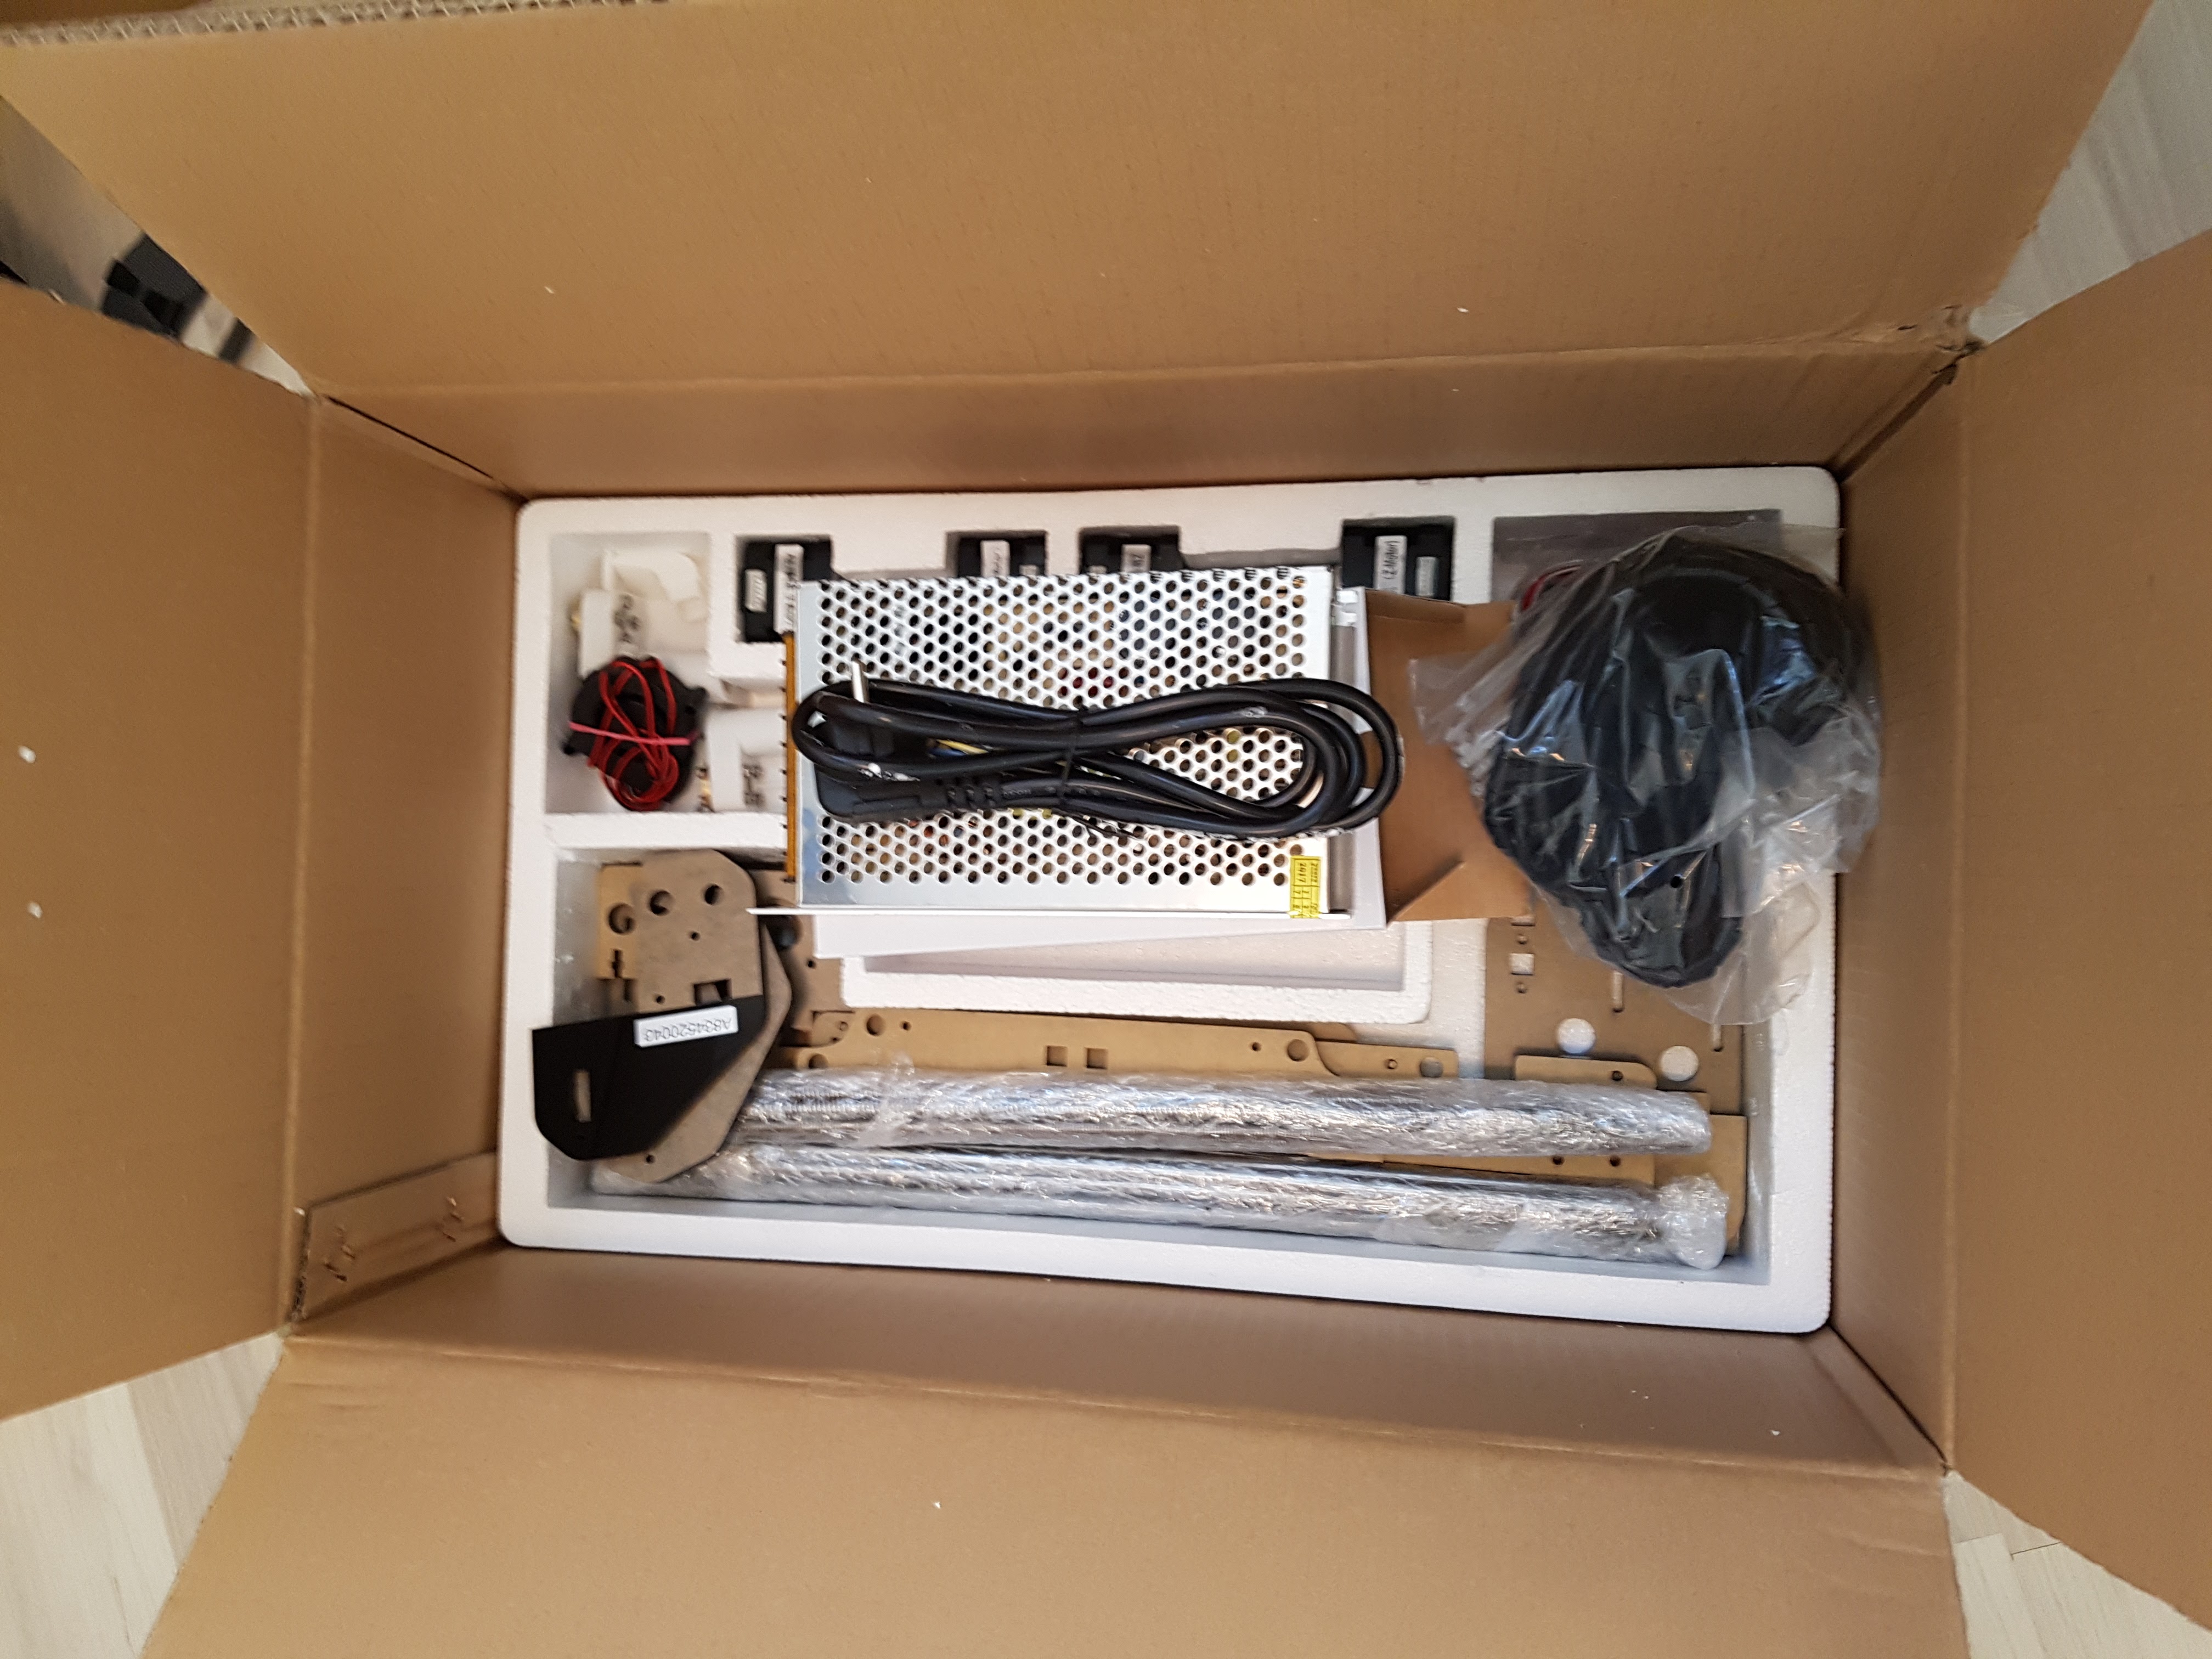
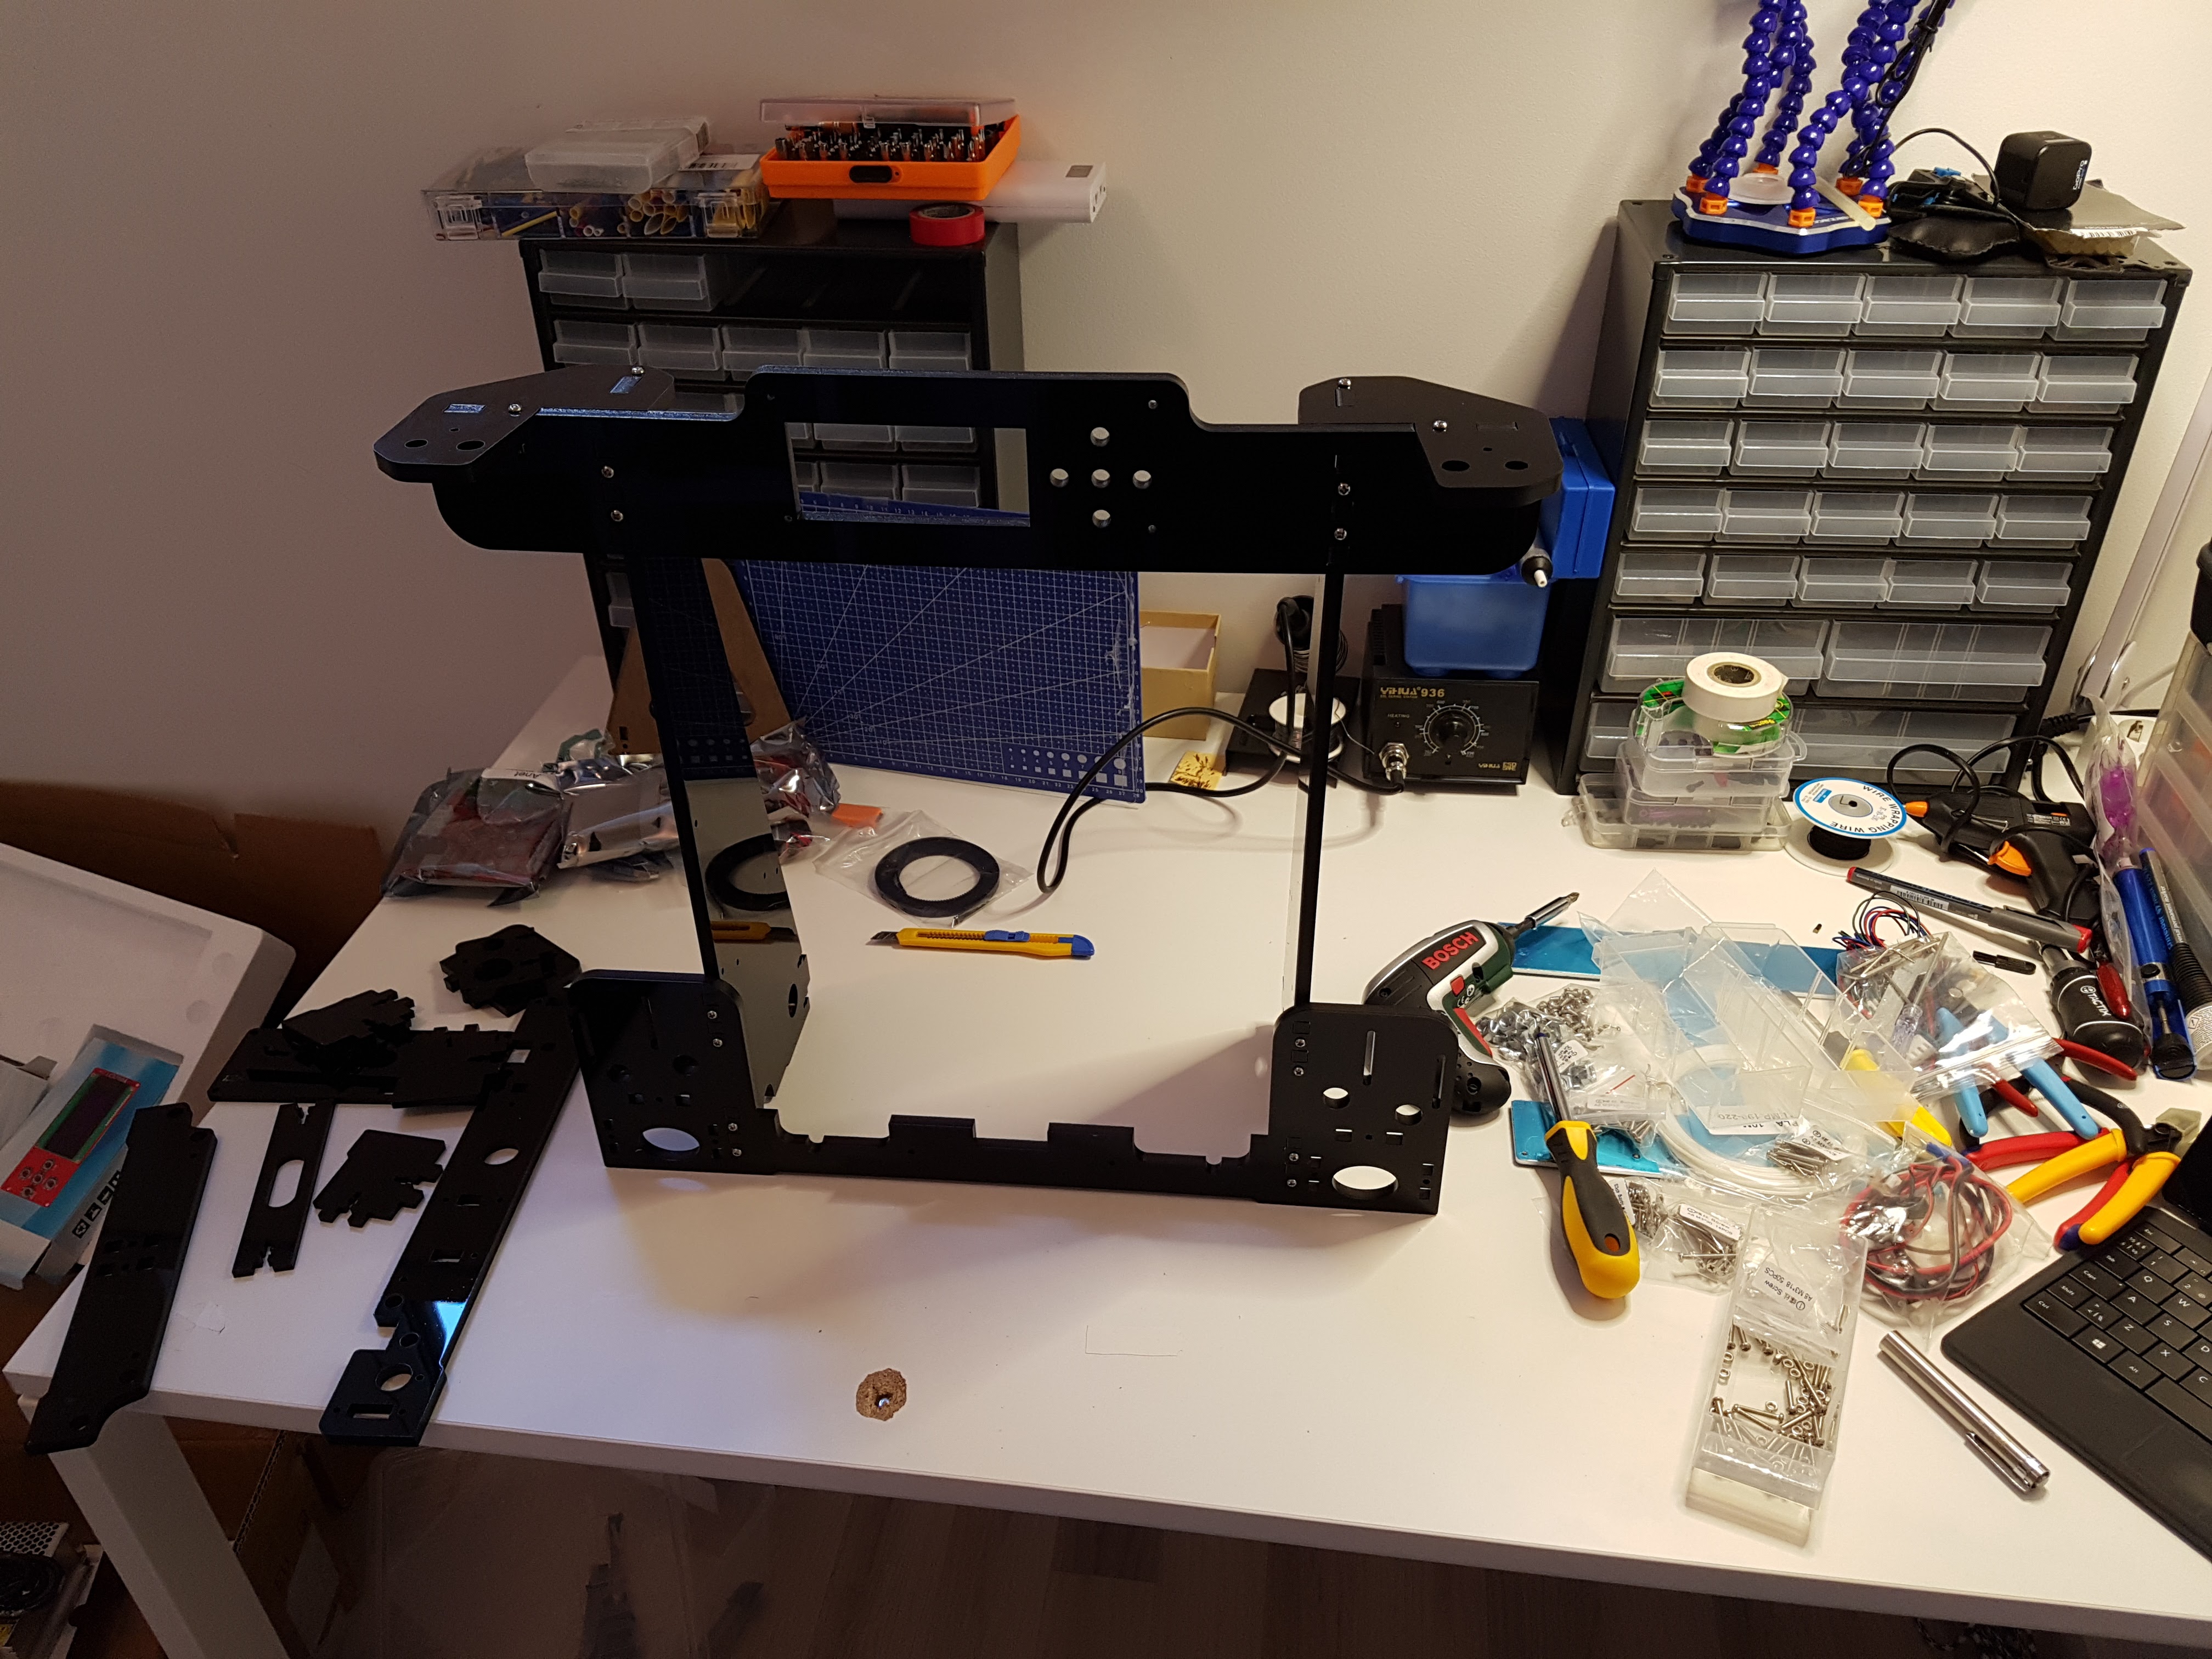
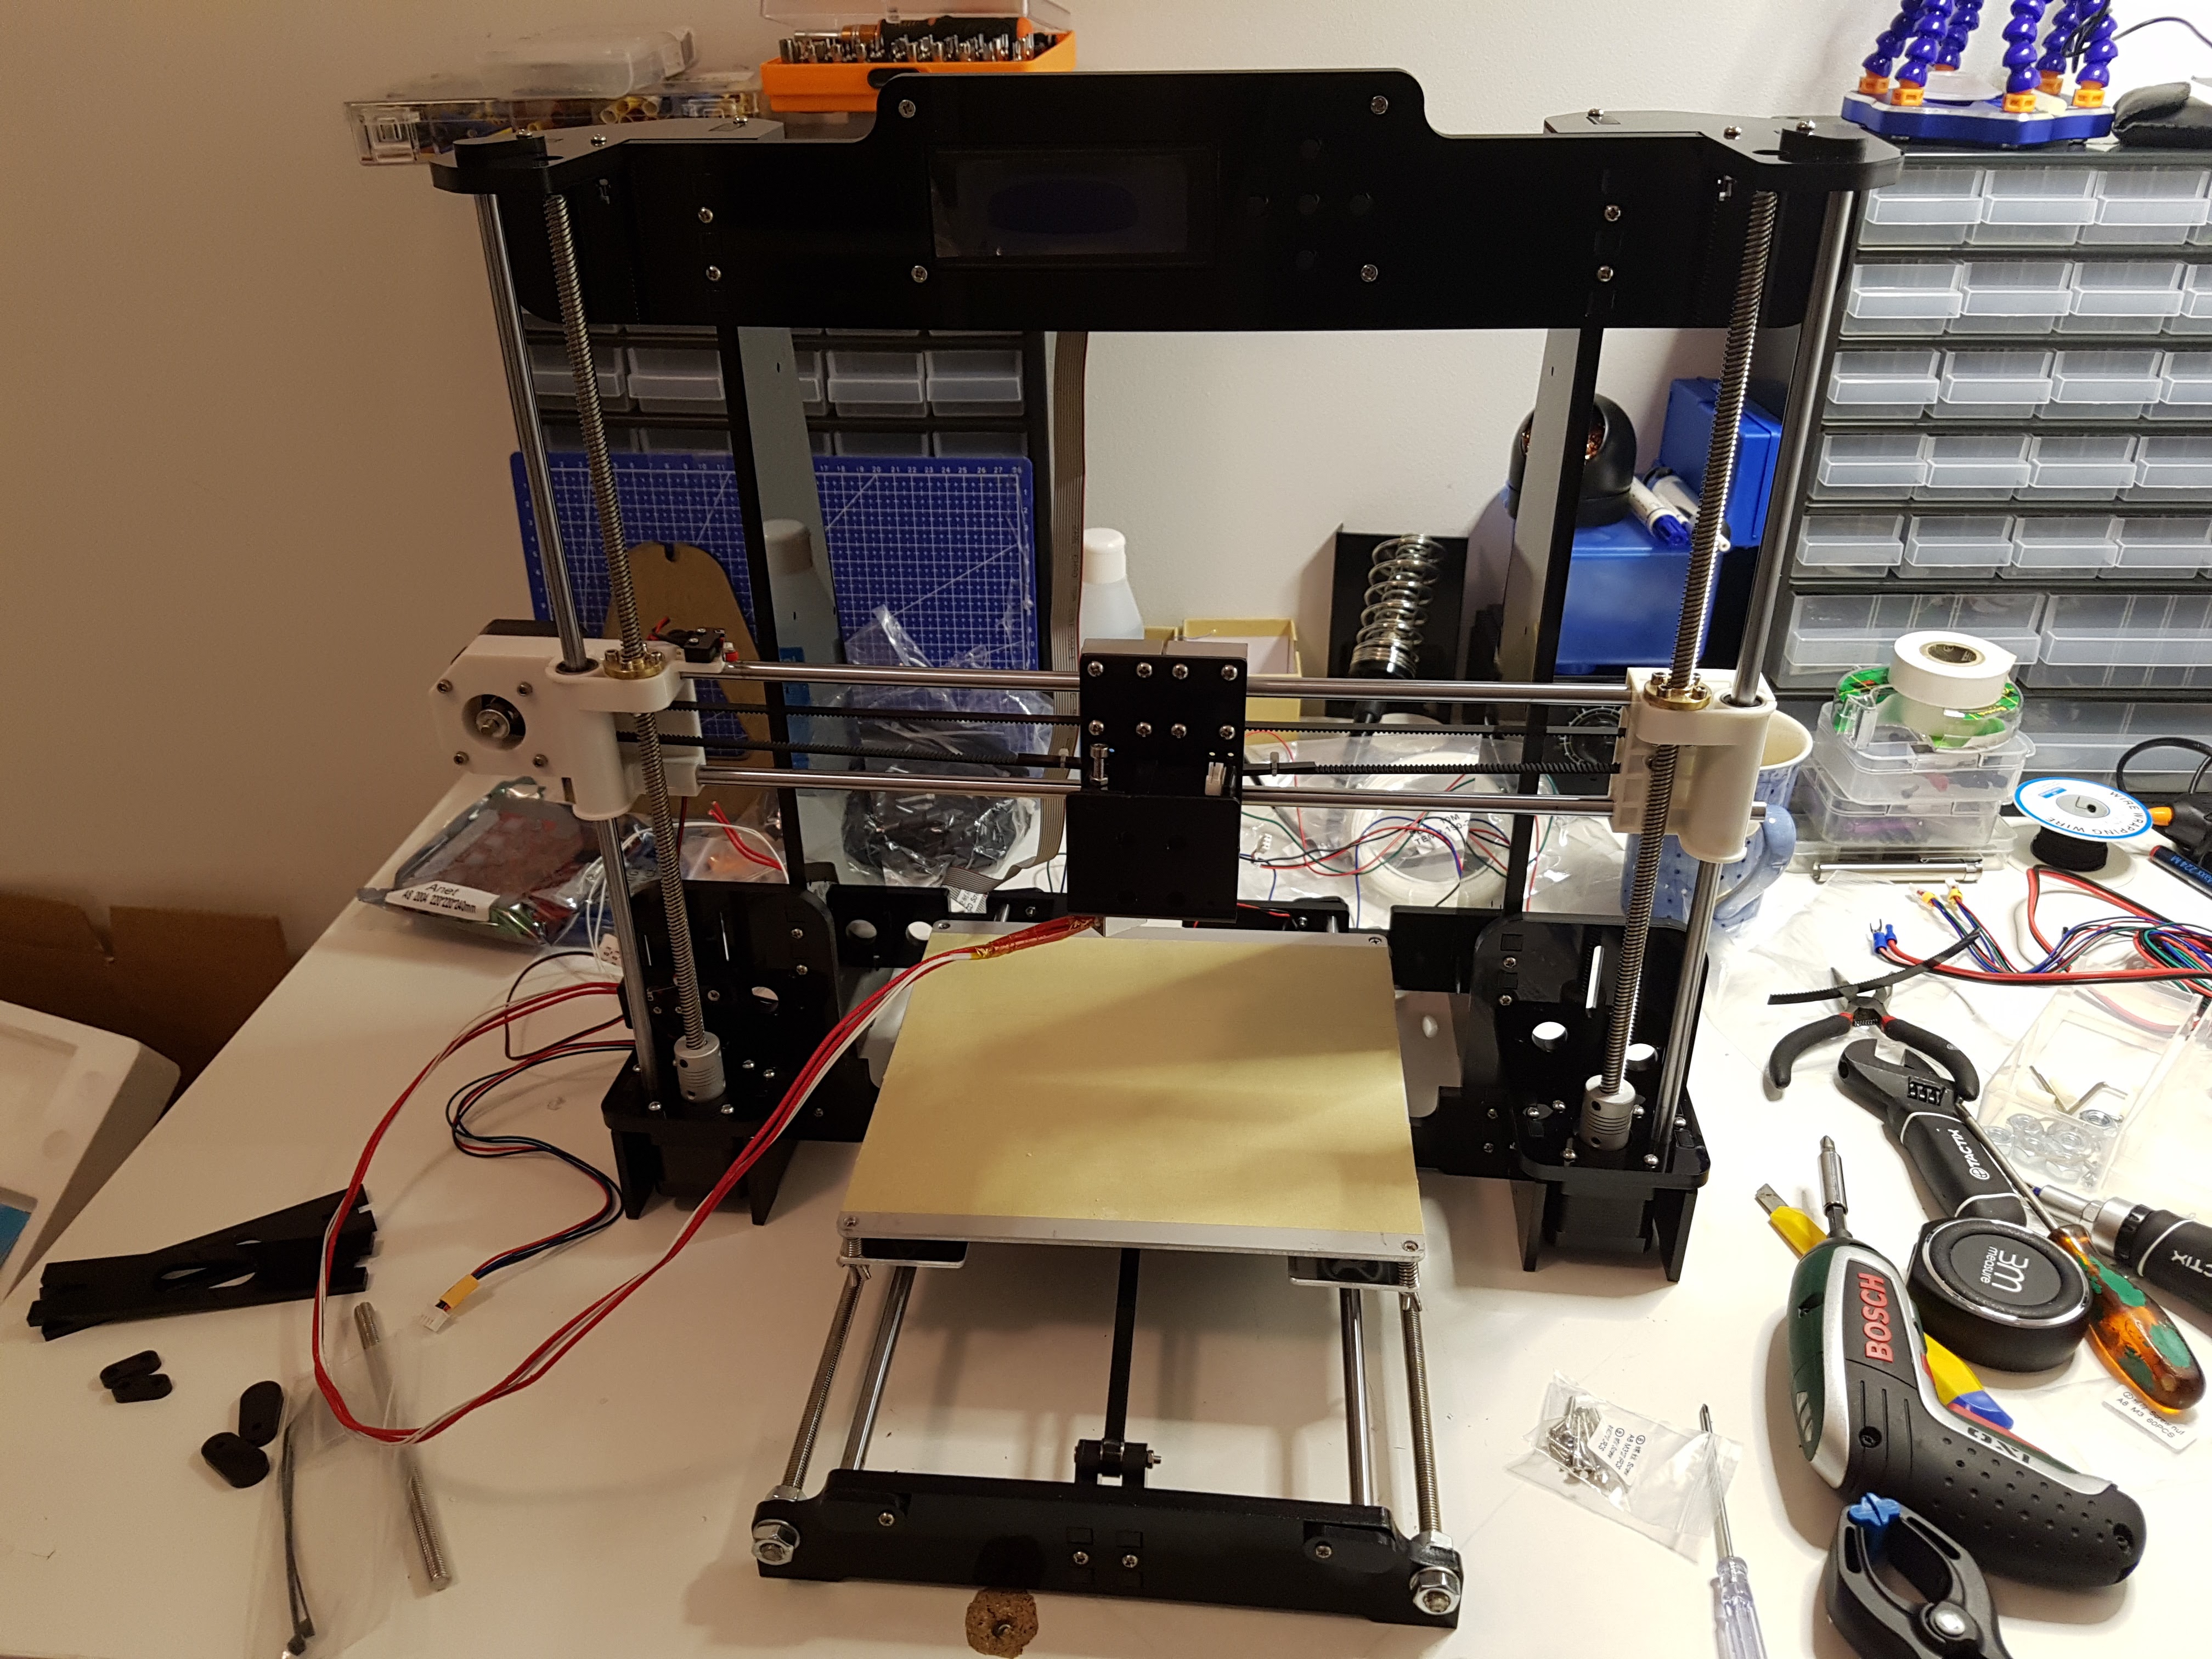
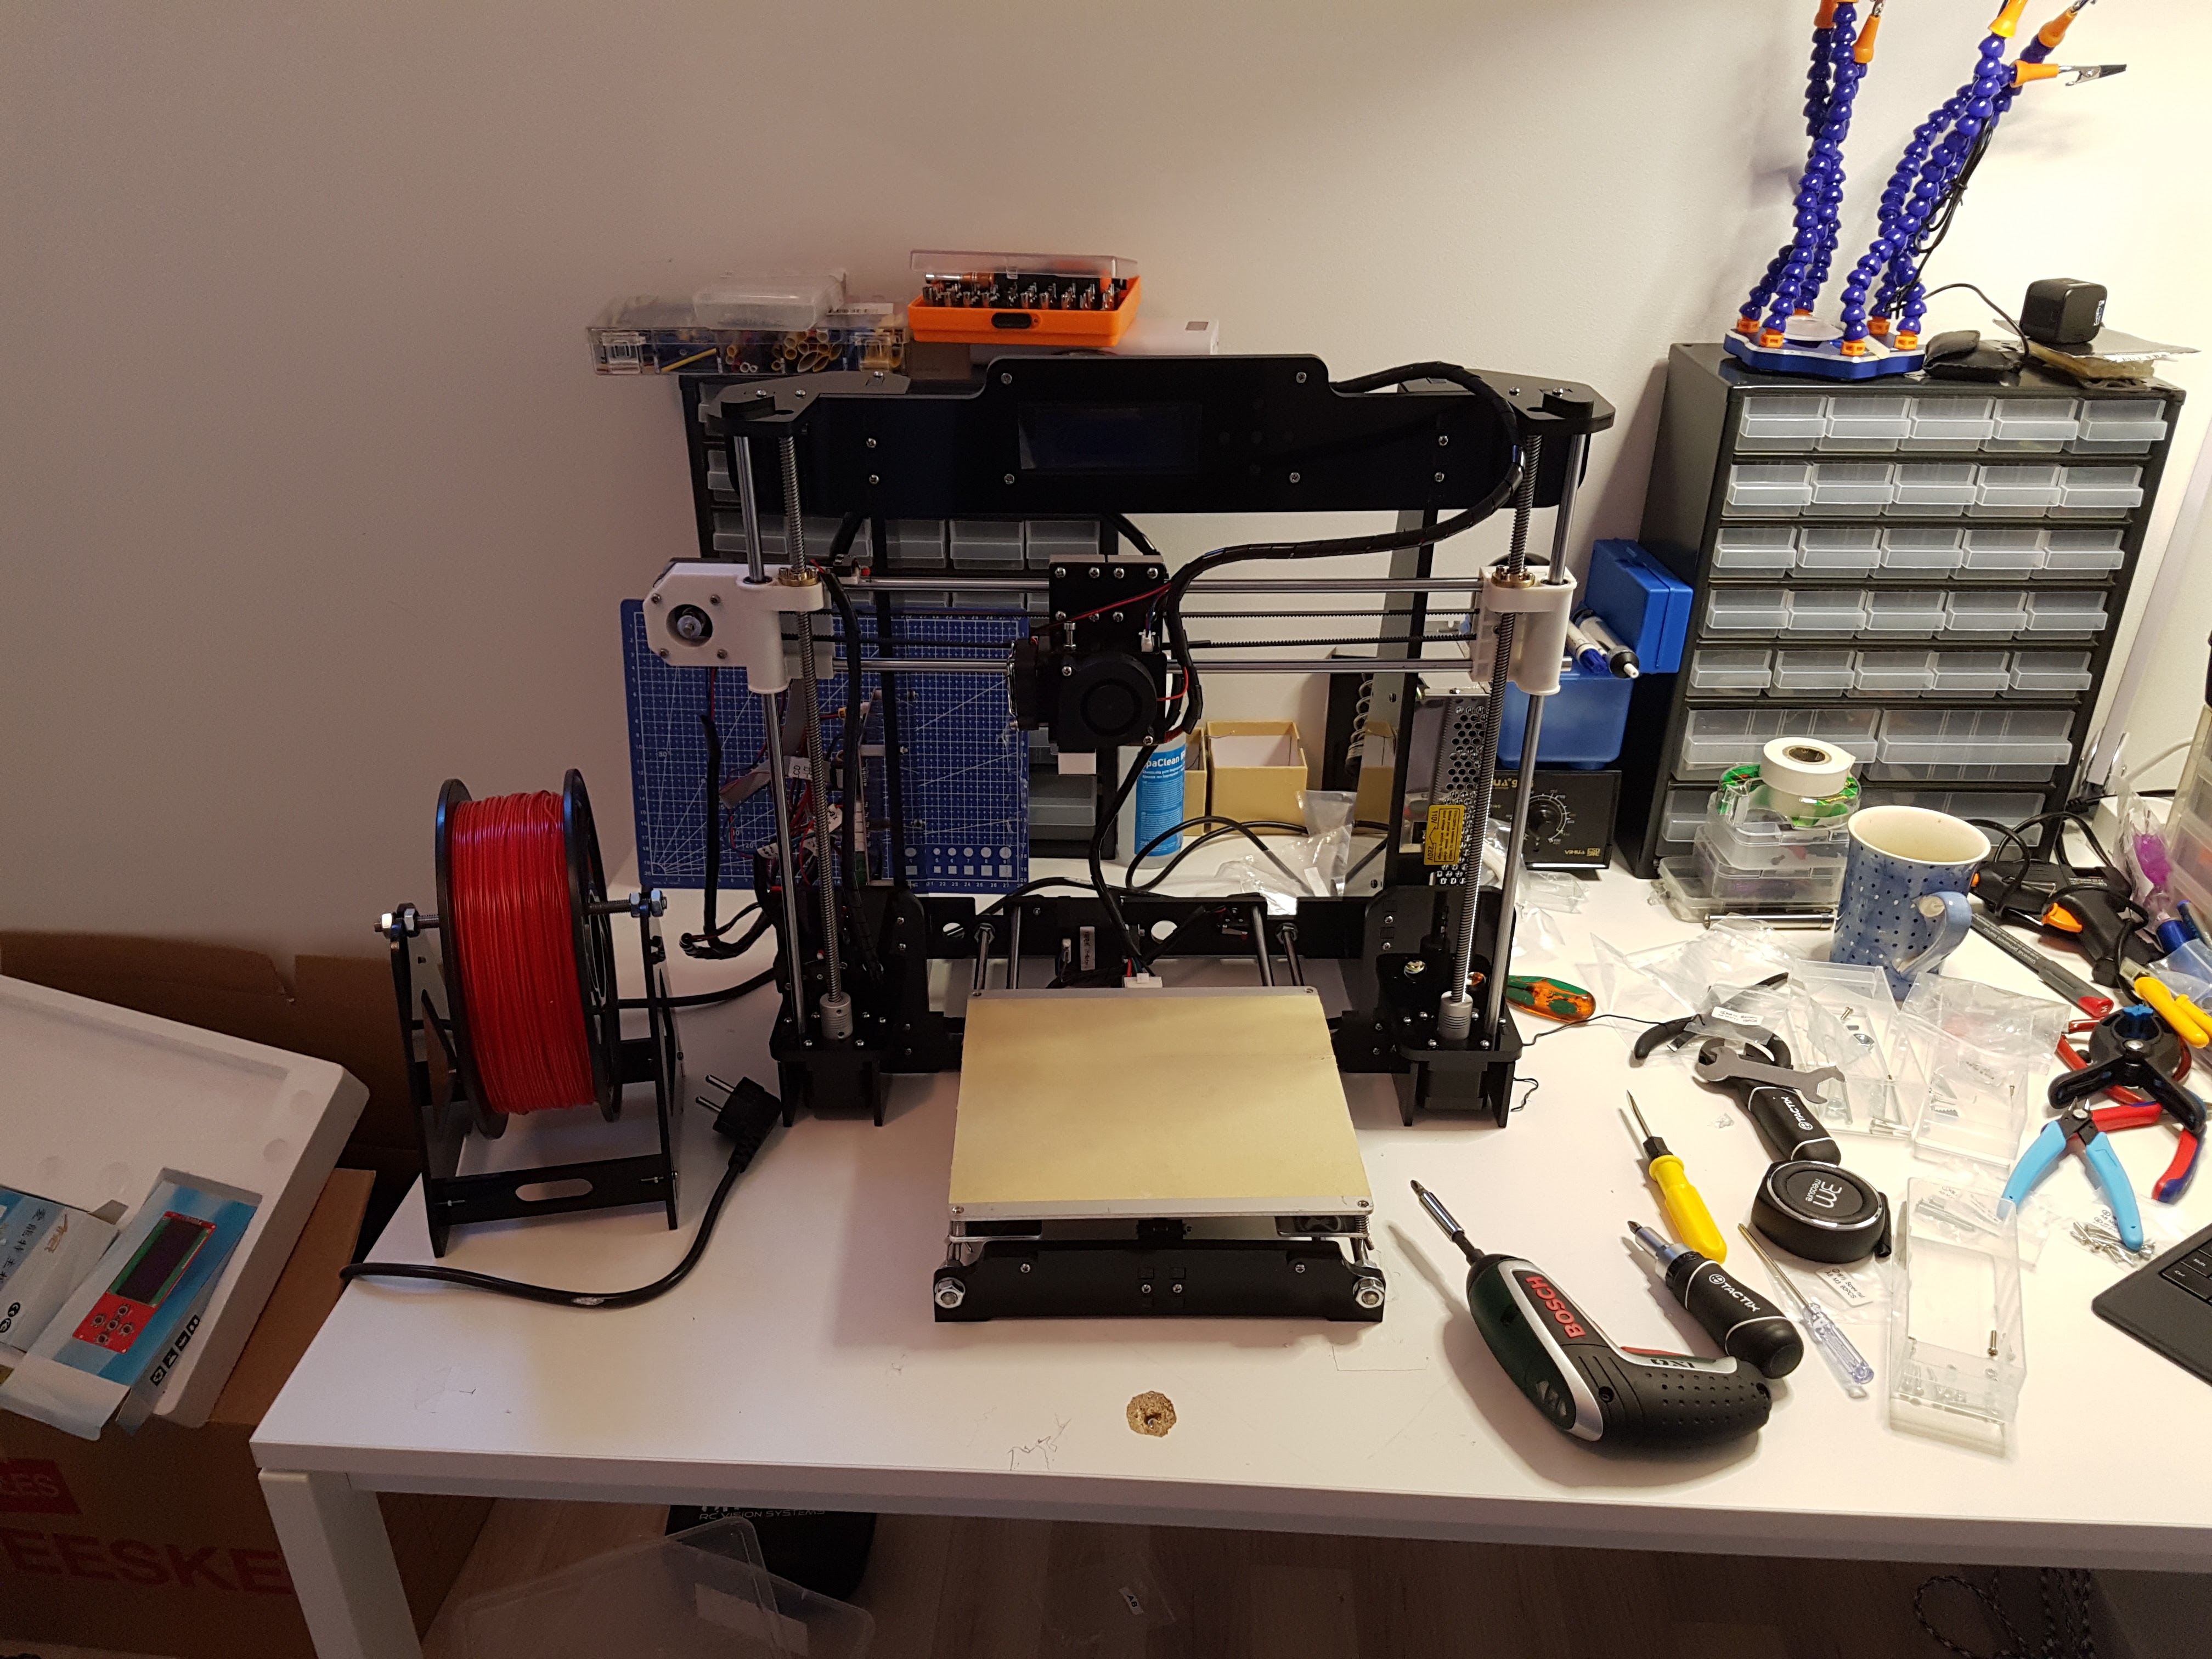
I can safely say that it took some hours just to get it working, but it was well worth it and it worked like a charm.
Designing a new chase was even more things i needed to learn 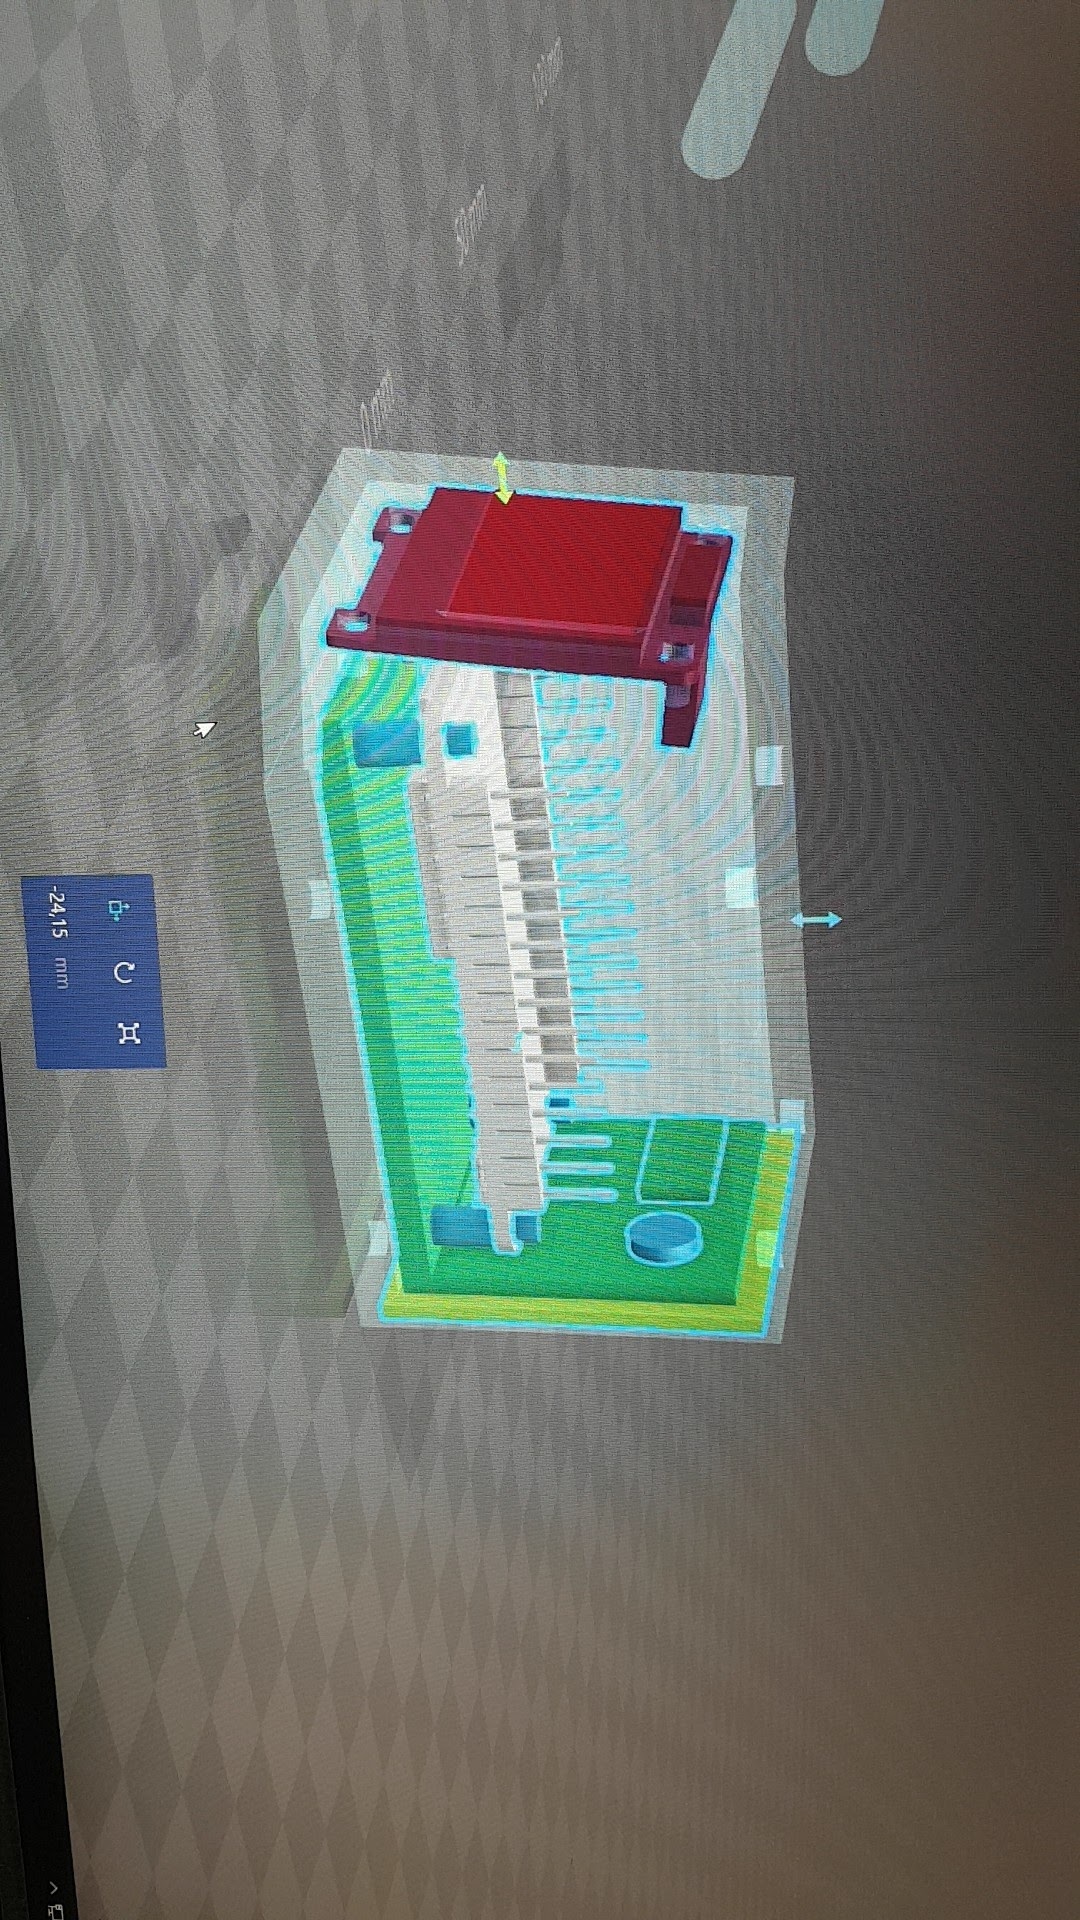
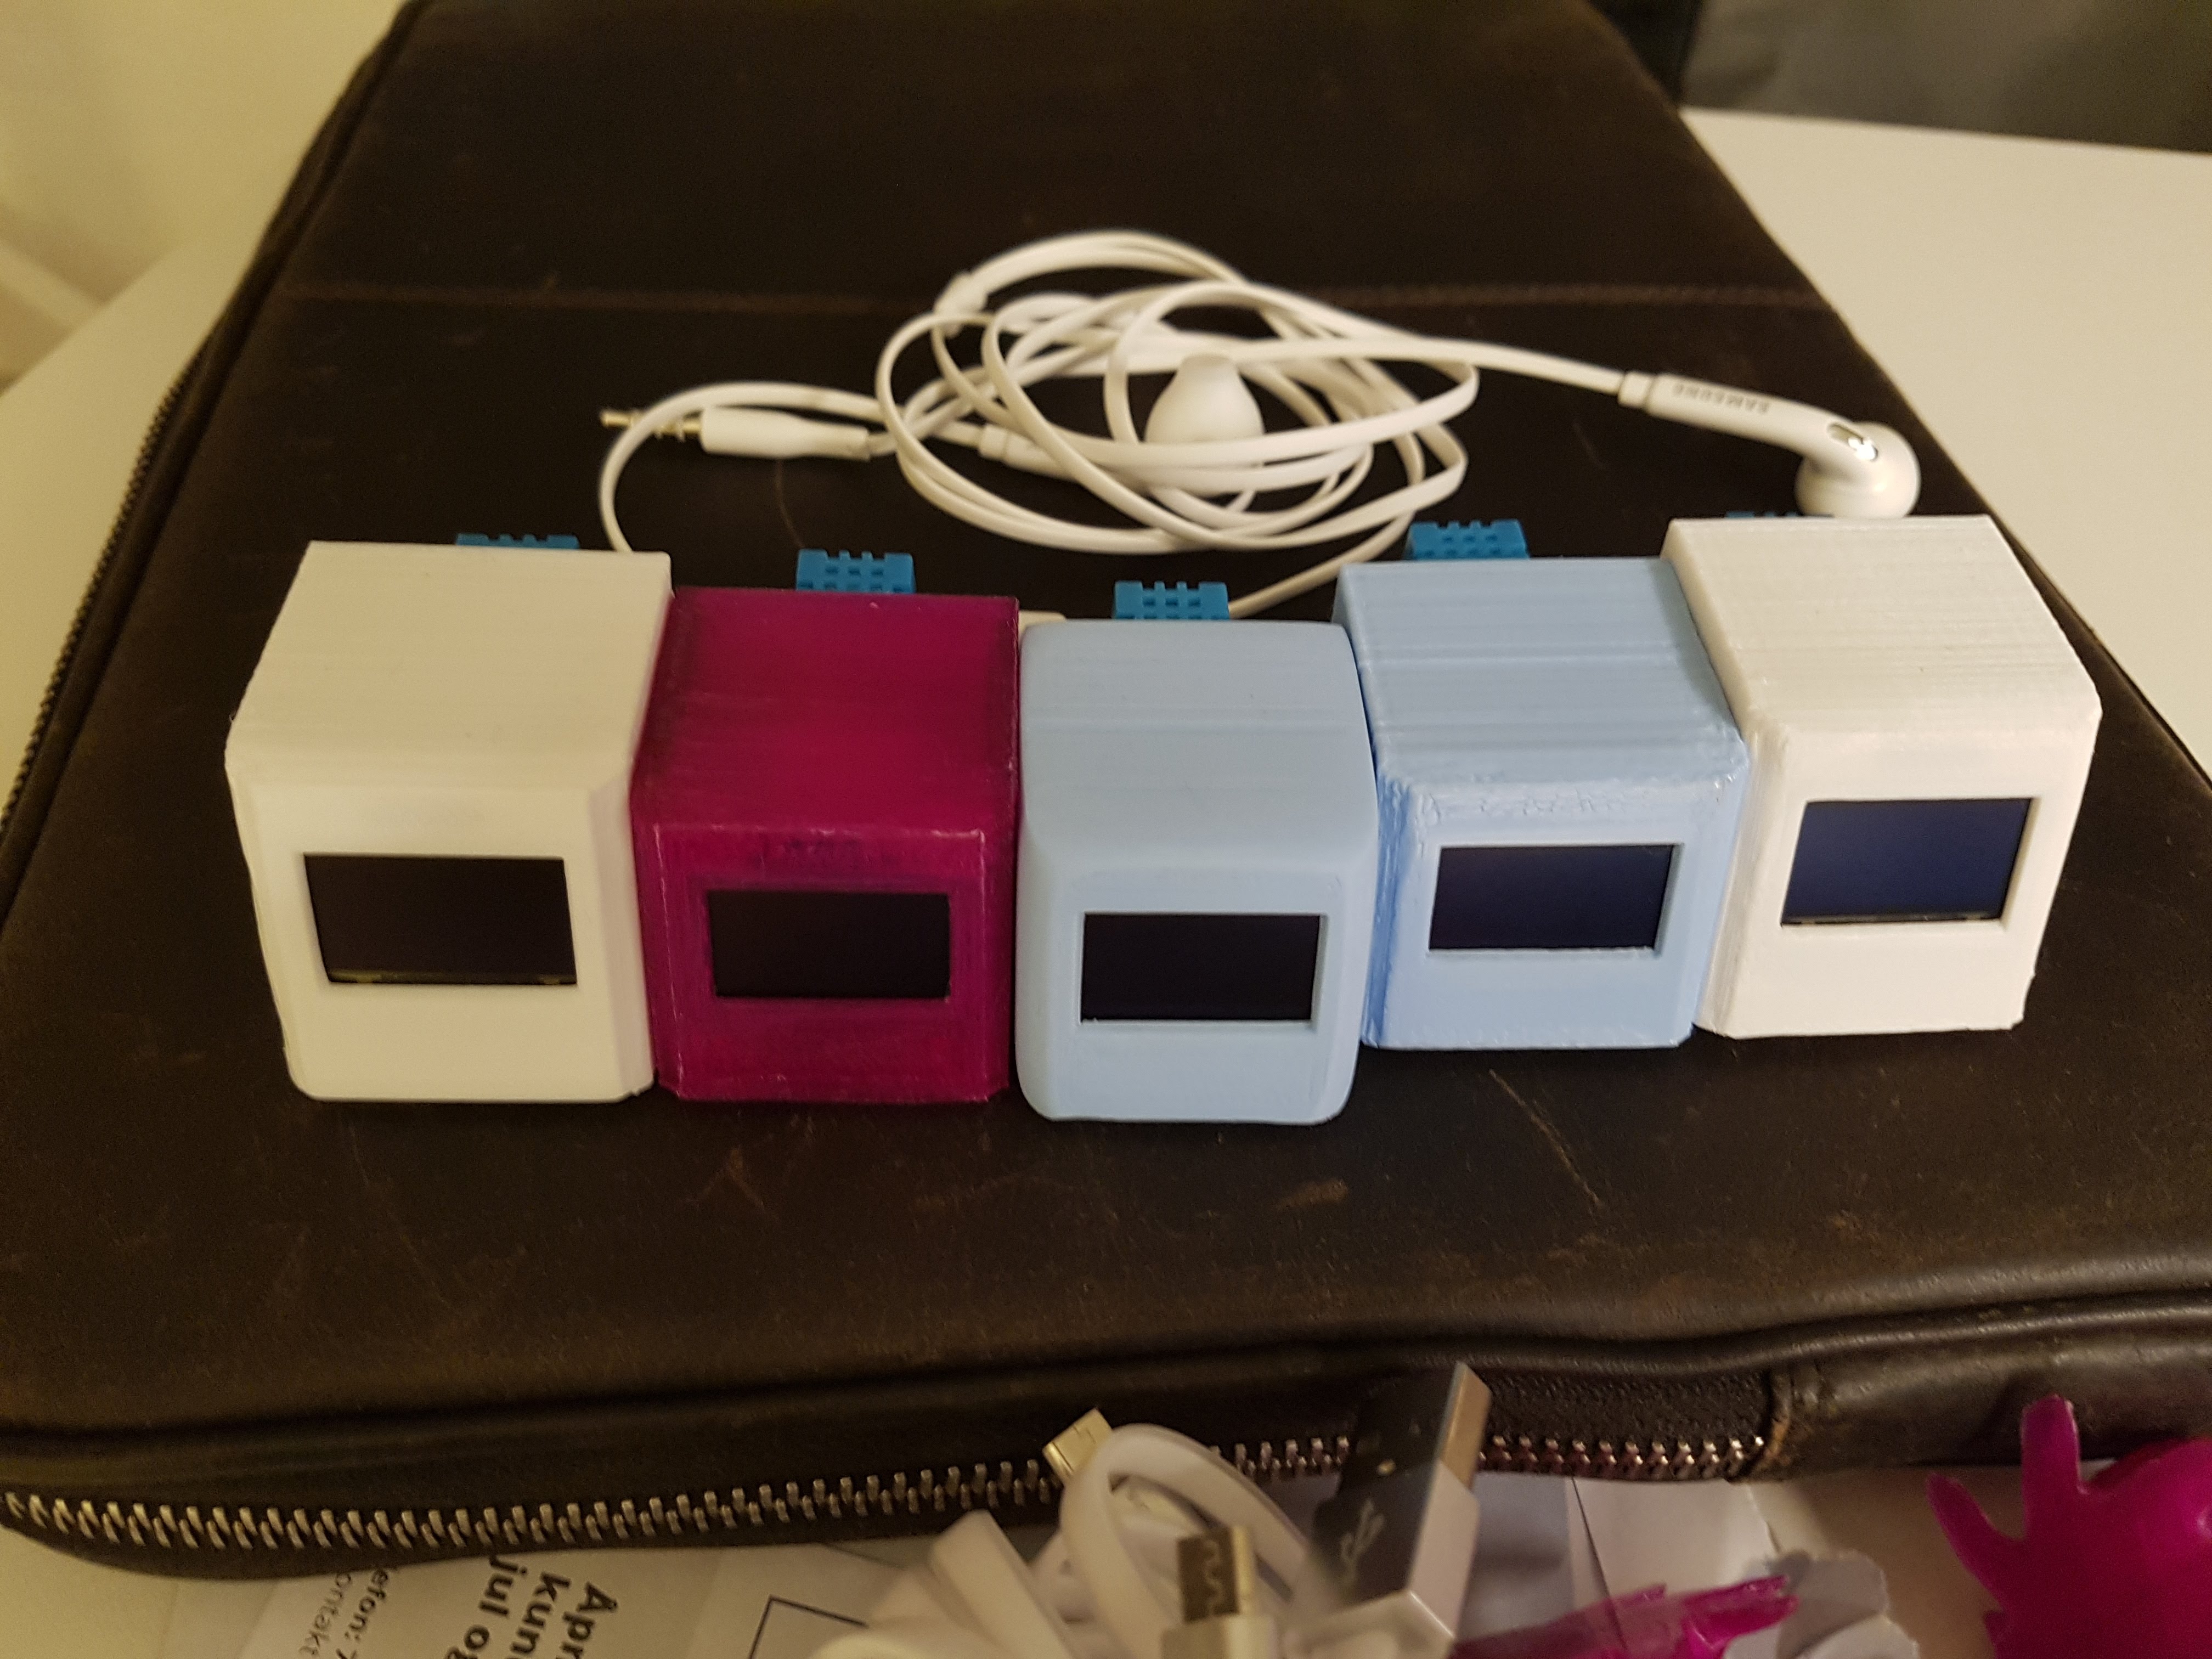
Designing the case itself was harder then i first imagined, i probably went thru 30 different variations before nailing it down.
The one on the right here is a early one with a NodeMCU innside and the others here are some iterations and tests.

TBC